

Sweater Surgery
Shortening the sleeves on a store-bought sweater

When this piece is published, I’ll be in Chicago for the annual wholesale trade show, H+H Americas. I’ll be spending time with old friends and finding out what the major yarn companies have in the works for the upcoming fall season.
This is a long post with lots of photos, so your email program may cut it off. Just click on the title to view the full post on the Substack website. You won’t want to miss the reveal at the end!
A couple of weeks ago, I bought this clearance-priced jacket from Gap. I like the style, the 100% cotton fiber content, and the dark blue color. It’s out of stock now, but I paid $34 (originally priced at $118!) plus tax—far less than it would cost to knit it myself.
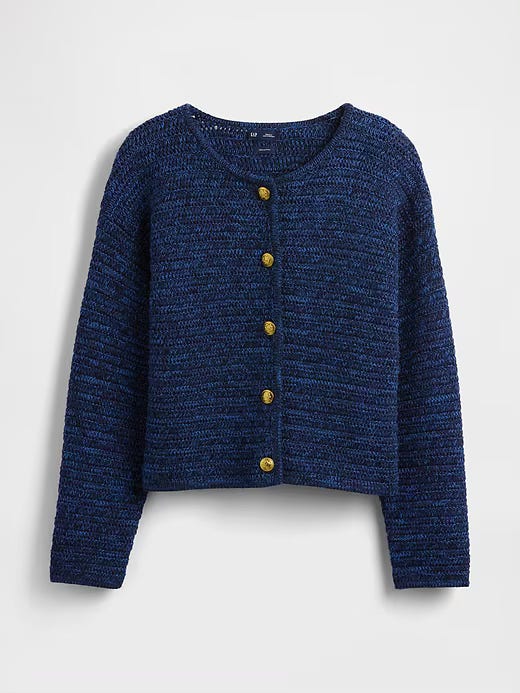
There was just one problem. Apparently, Gap believes someone who wears a size XXL should be 6 feet tall. I’m 5 feet 6 inches. The sleeves were 2½” too long.
Being the resourceful knitter that I am, I took a close look at the construction and determined that I did, indeed, have the skills to fix this. Today, I’m going to walk you through what I did to make this bargain work for me.
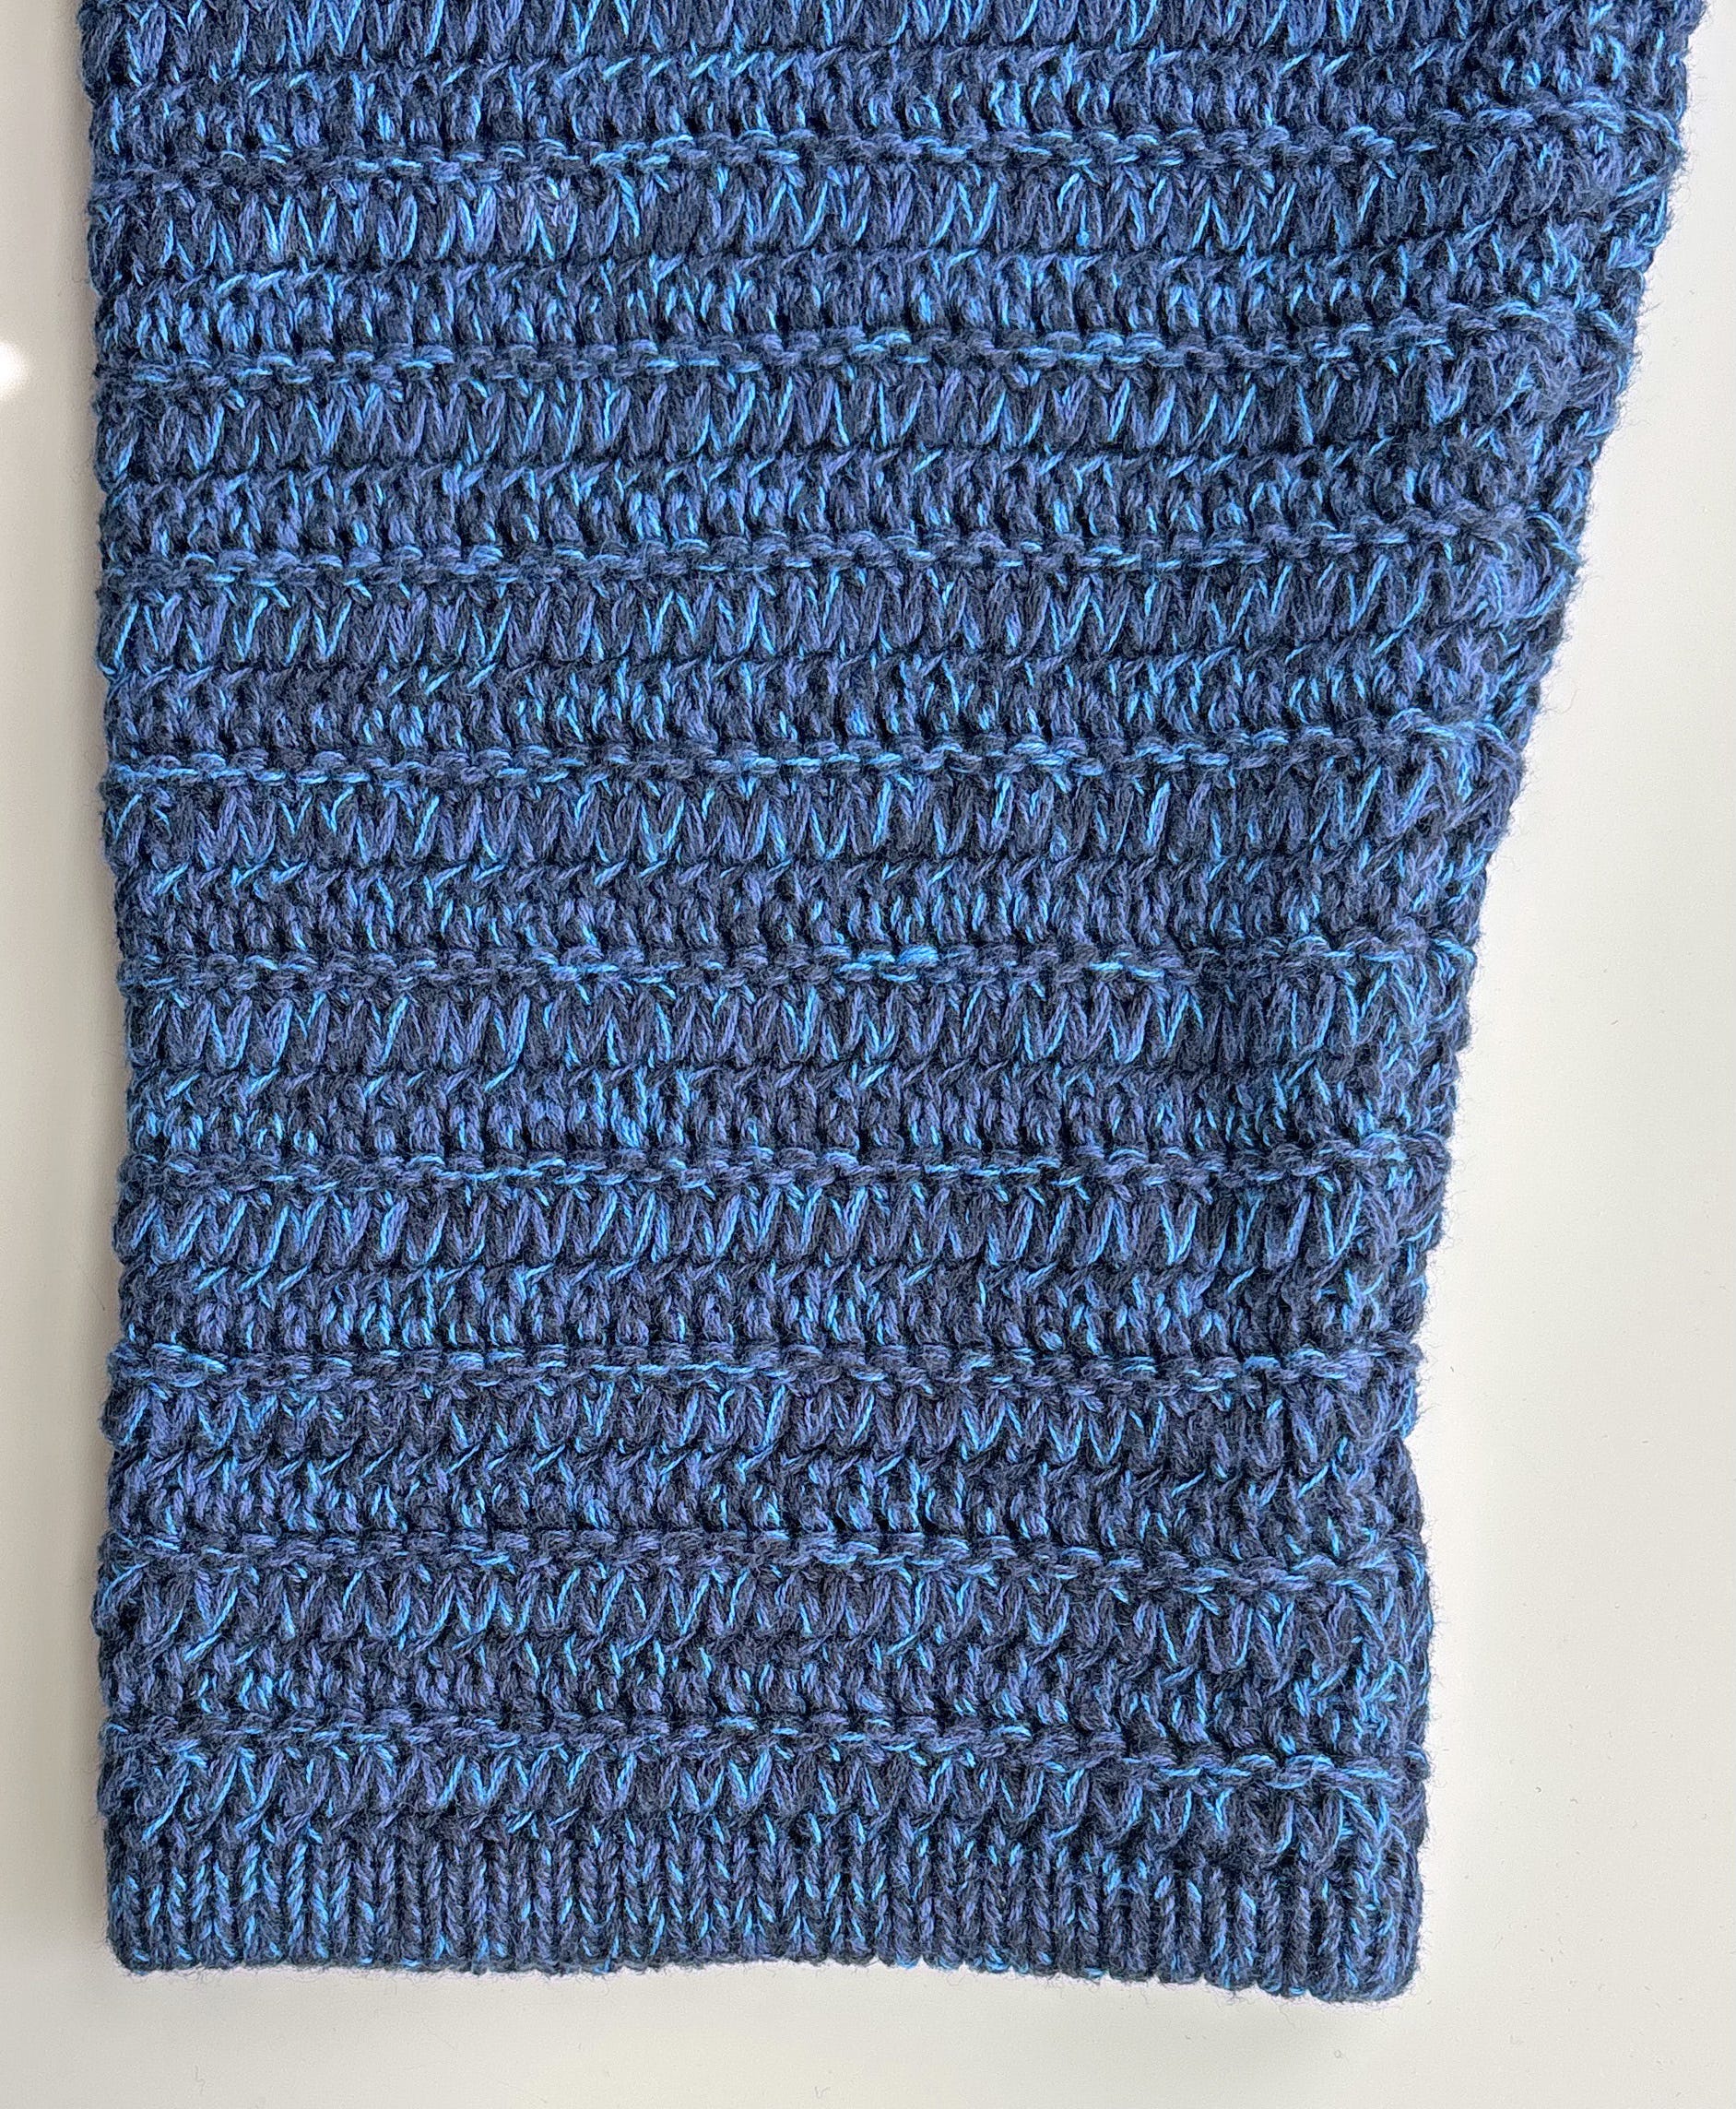
The Fabric
This sweater is knit in an interesting stitch pattern, where rows of double knitting alternate with purl ridges. The edgings are stockinette stitch folded to create a hem.
The Construction
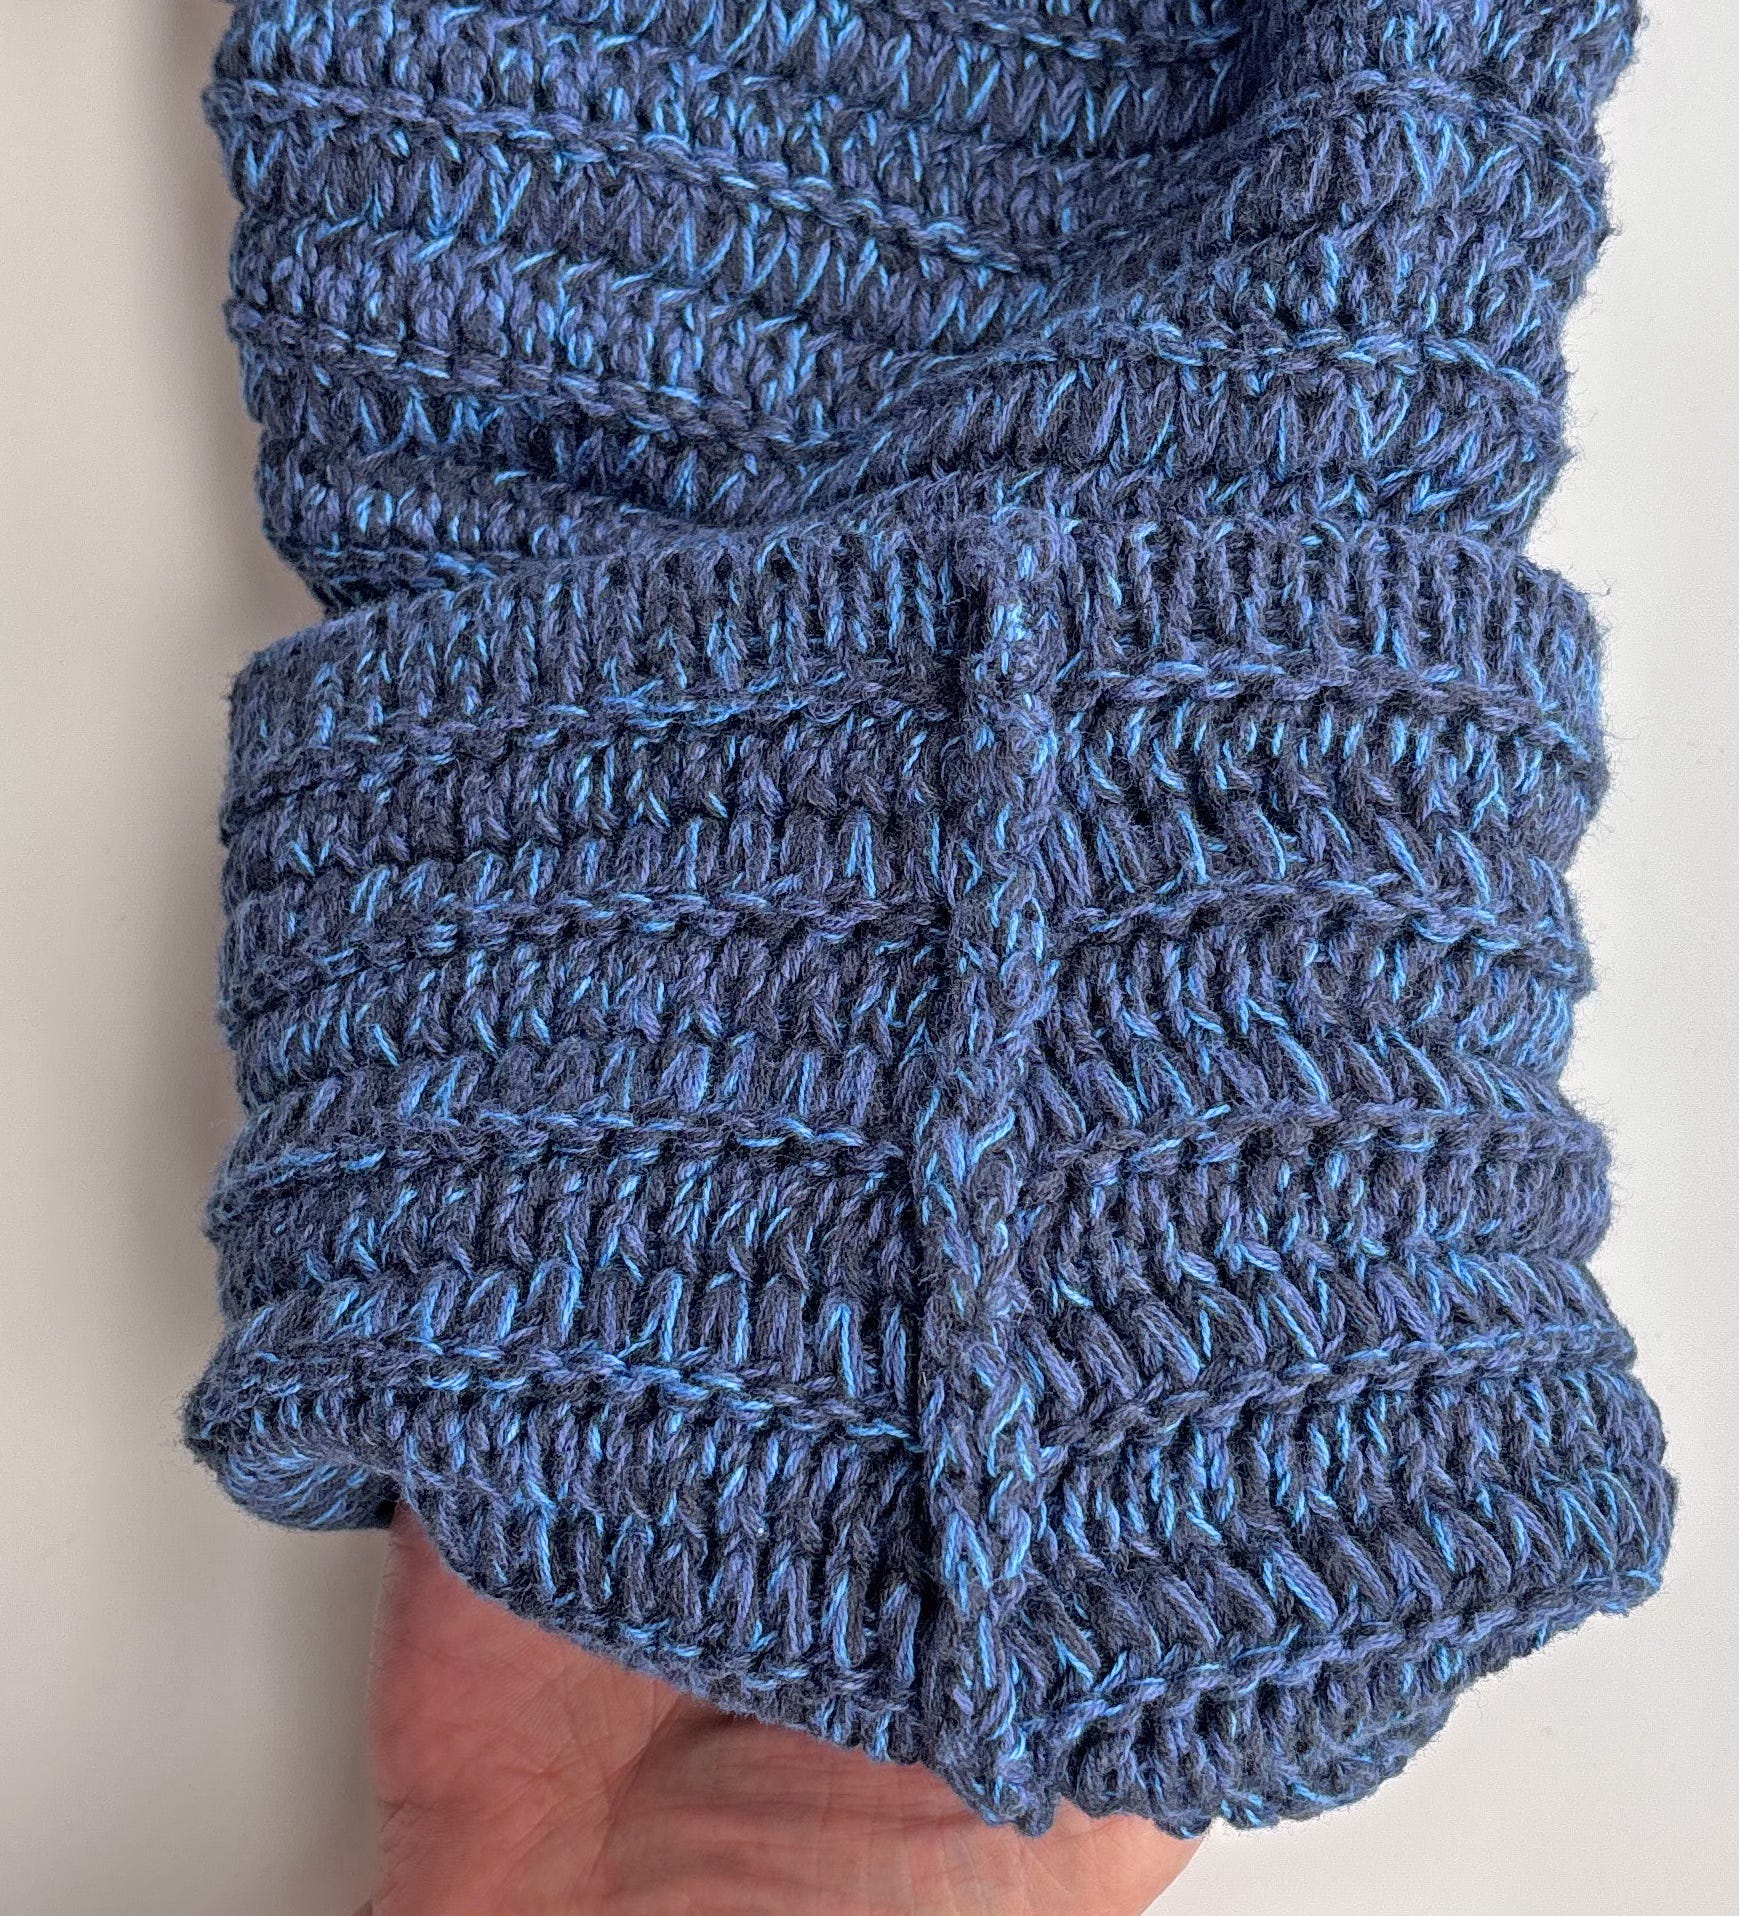
I turned the sleeve inside out to see if it was knit to size or cut and sewn. Fortunately, it was knit to size. If you look along the seam, you can see what look like normal knitted selvedge edges, not cut yarn ends bound with an overlock stitch. This was good news—I would be able to rip out and recover a single strand of yarn. Had the sweater been cut and sewn, the yarn would have been cut at the end of each row, and I would have abandoned my rescue plan.
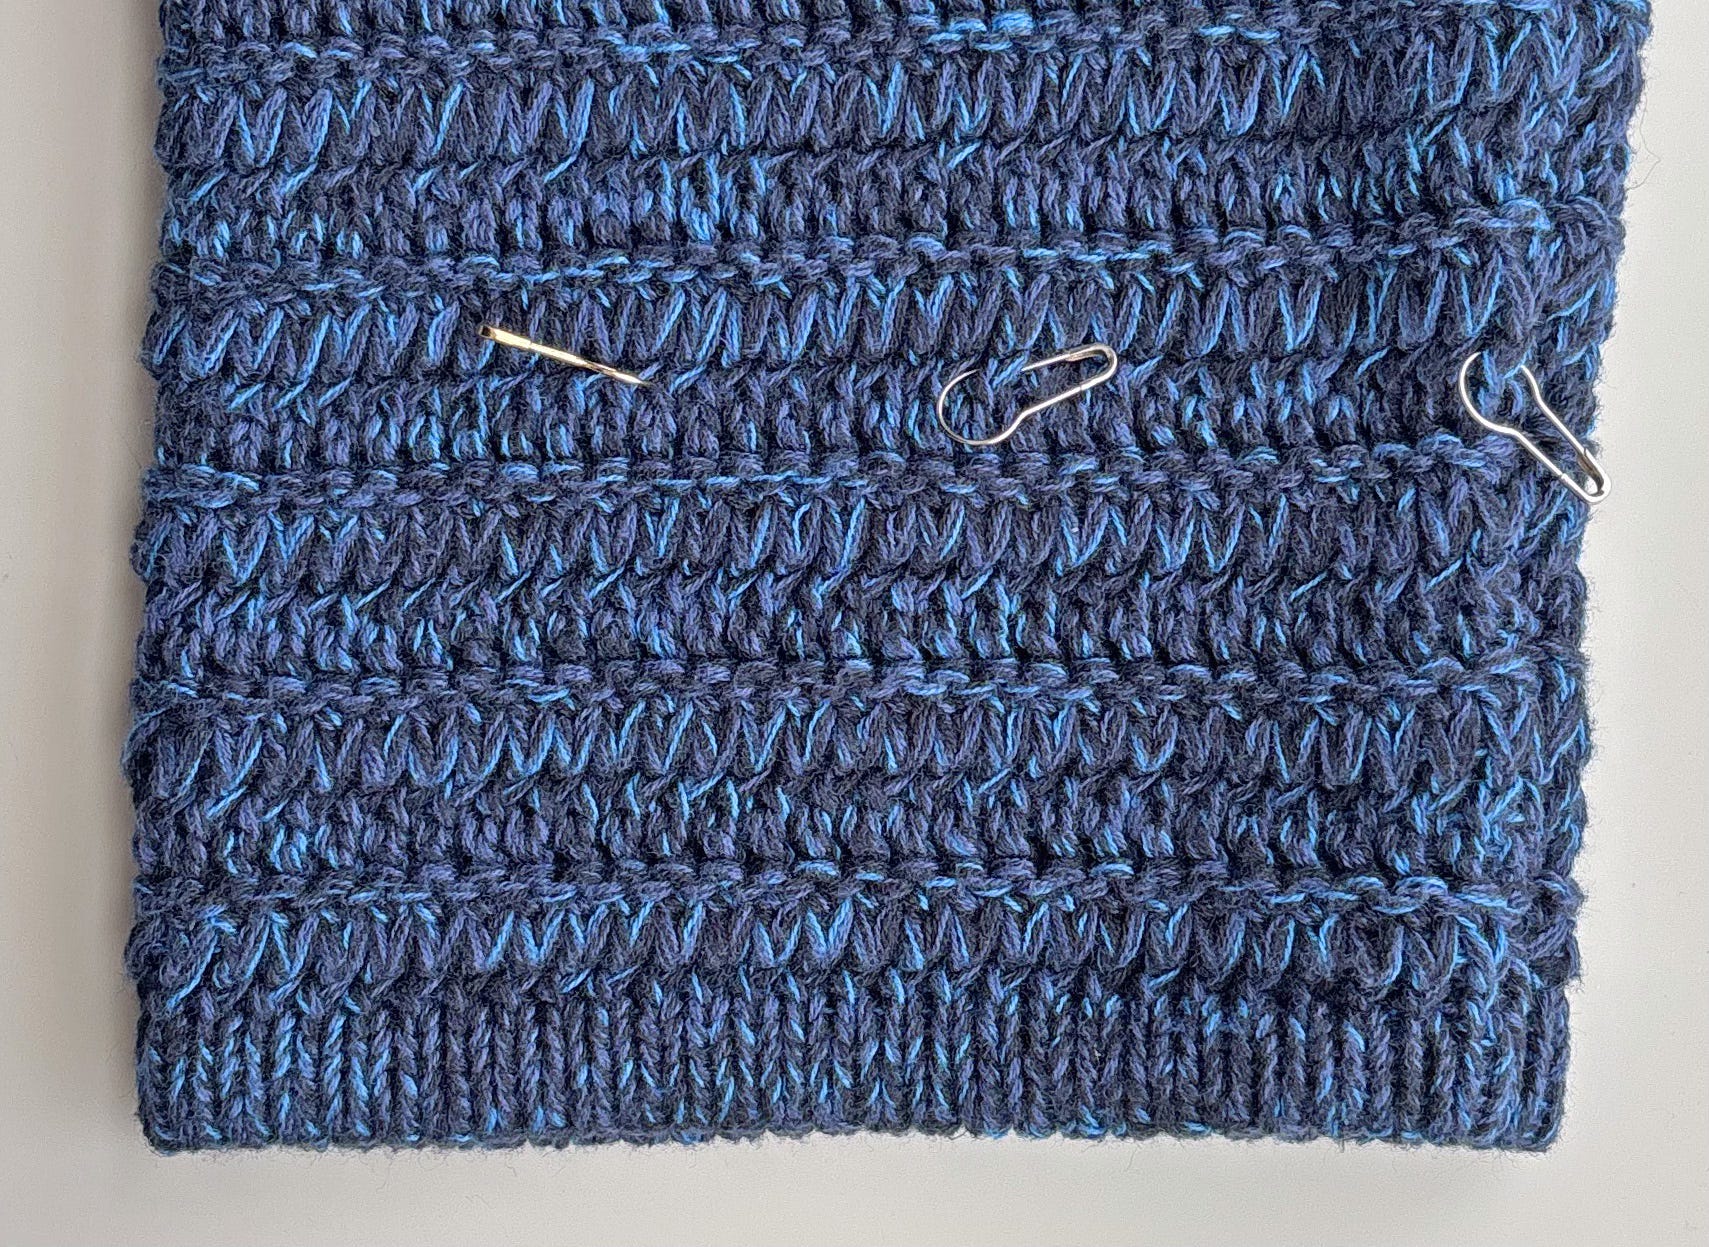
How Much Shorter?
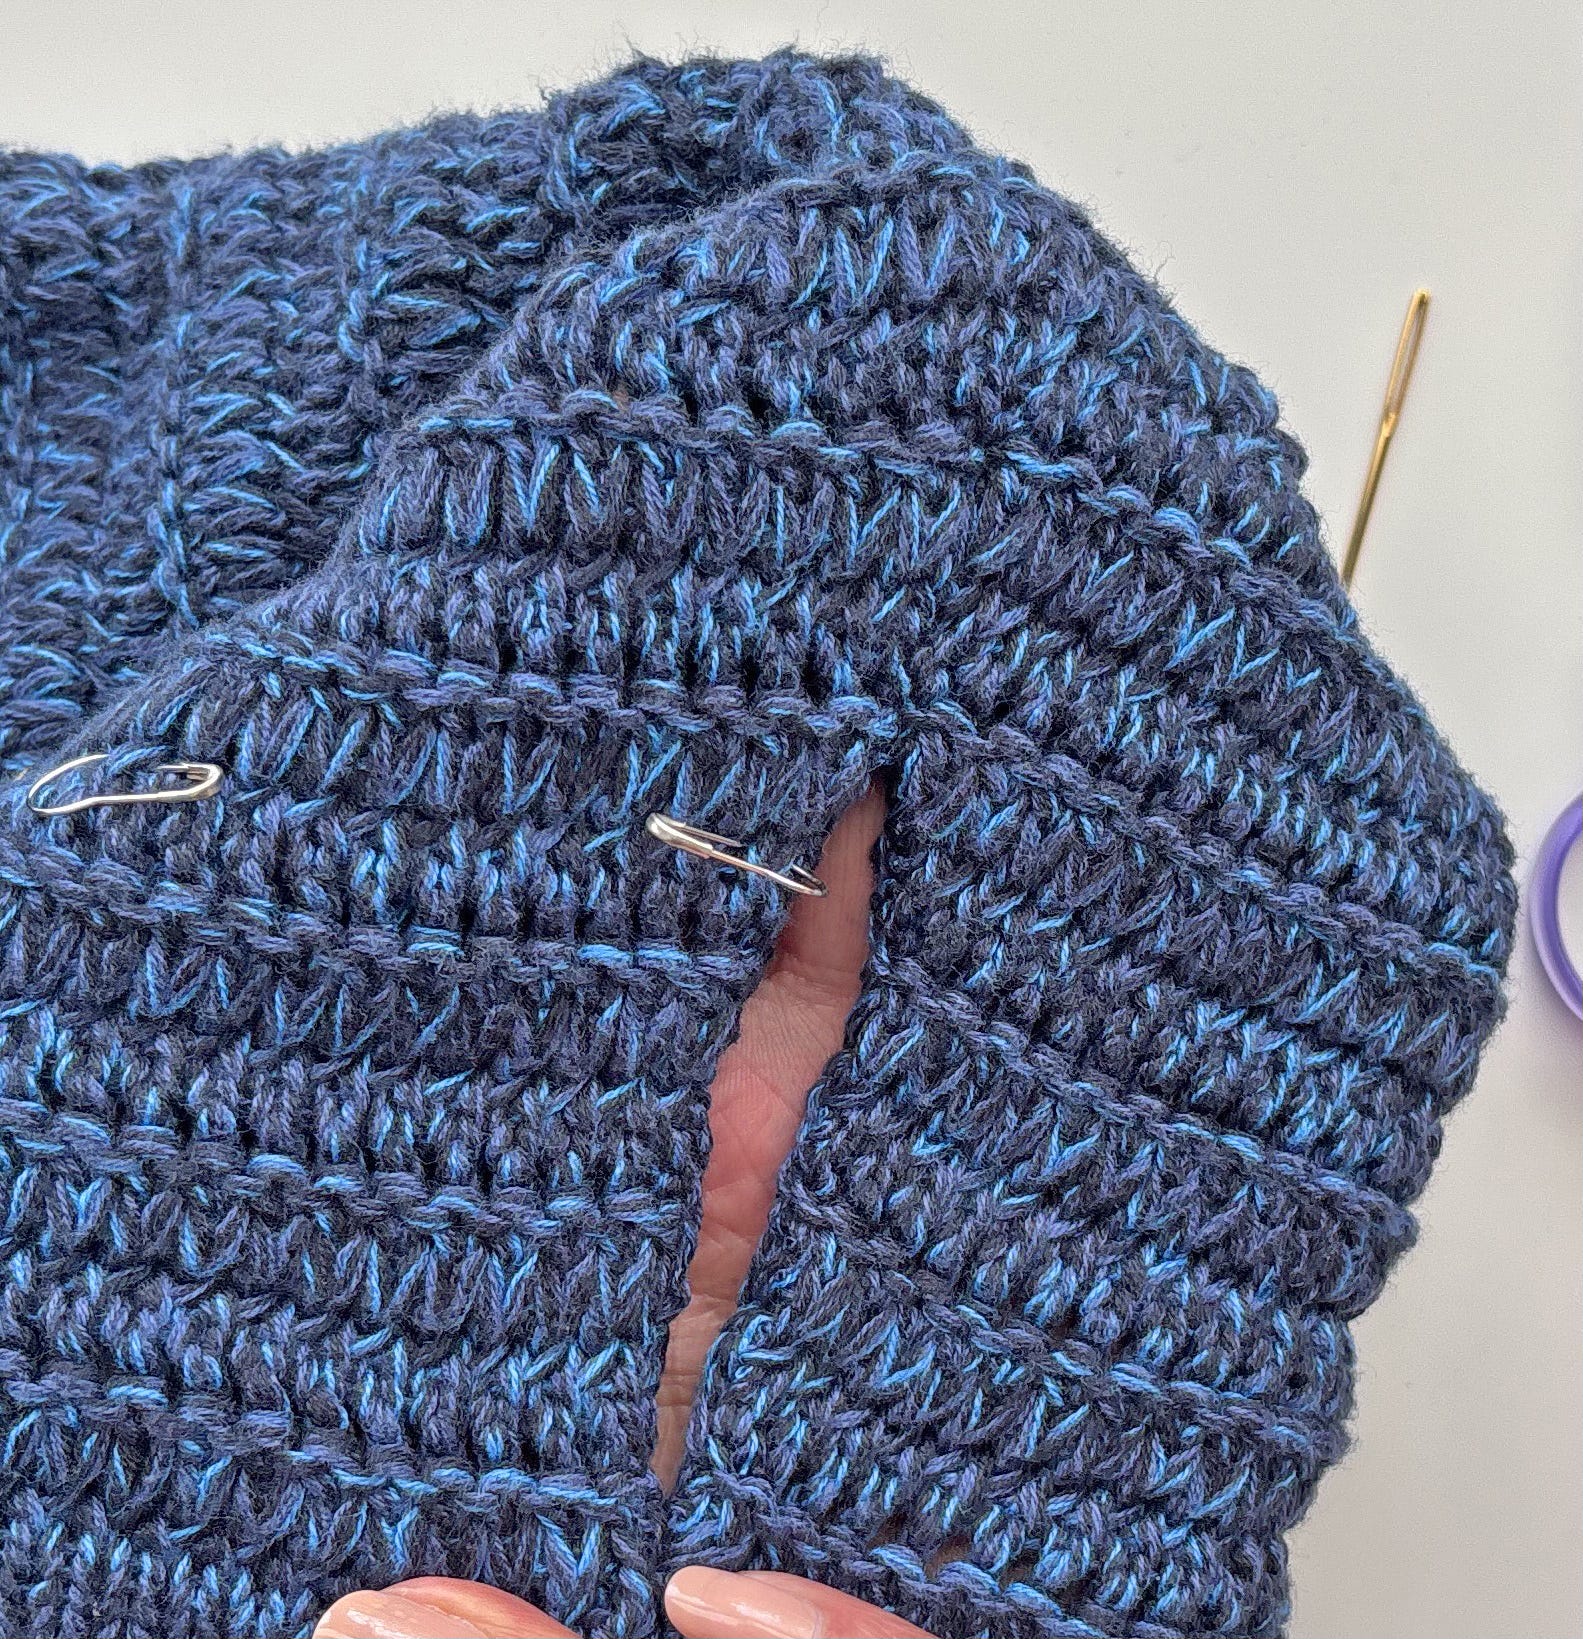
I started by folding up the sleeves to the length that was comfortable. I marked that fold with a pin. Then I measured the stockinette stitch hem. It was ½”. I knew I’d be reknitting that hem, so I moved that pin ½” up to account for the hem. I double checked to make sure I had marked both sleeves in the same place, then used additional pins to mark that row all the way around the sleeve.
The Plan
Unfortunately, you can’t unravel knitting from the cast-on edge upward. It simply doesn’t work. I would need to detach the cuff of the sleeve below my pinned line, unravel yarn from the cuff section, and use that yarn to knit a new stockinette stitch hem.
Note: This project would have been much easier if the yarn were a lighter color, or if it were a single strand instead of an 8-strand marl. Success required confidence, patience, uninterrupted focus, and strong light.
Open the Seam
I began by opening the sleeve seam. I dug around near the cuff with a big tapestry needle until I was pretty sure I had found the seaming yarn, then used small, pointy, sharp scissors to snip it. If snipping that yarn would not let me open a gap in the seam, I knew I’d snipped the wrong strand and I kept digging.

Once I had identified the seaming yarn, I found this sweater was sewn with a chain stitch, like a crochet slip-stitch seam. Simply pulling on the yarn caused the seam to unzip, stitch by stitch. I opened the seam to an inch or so above the line of pins, so I’d have some room to work.
Don’t Cut Yet!
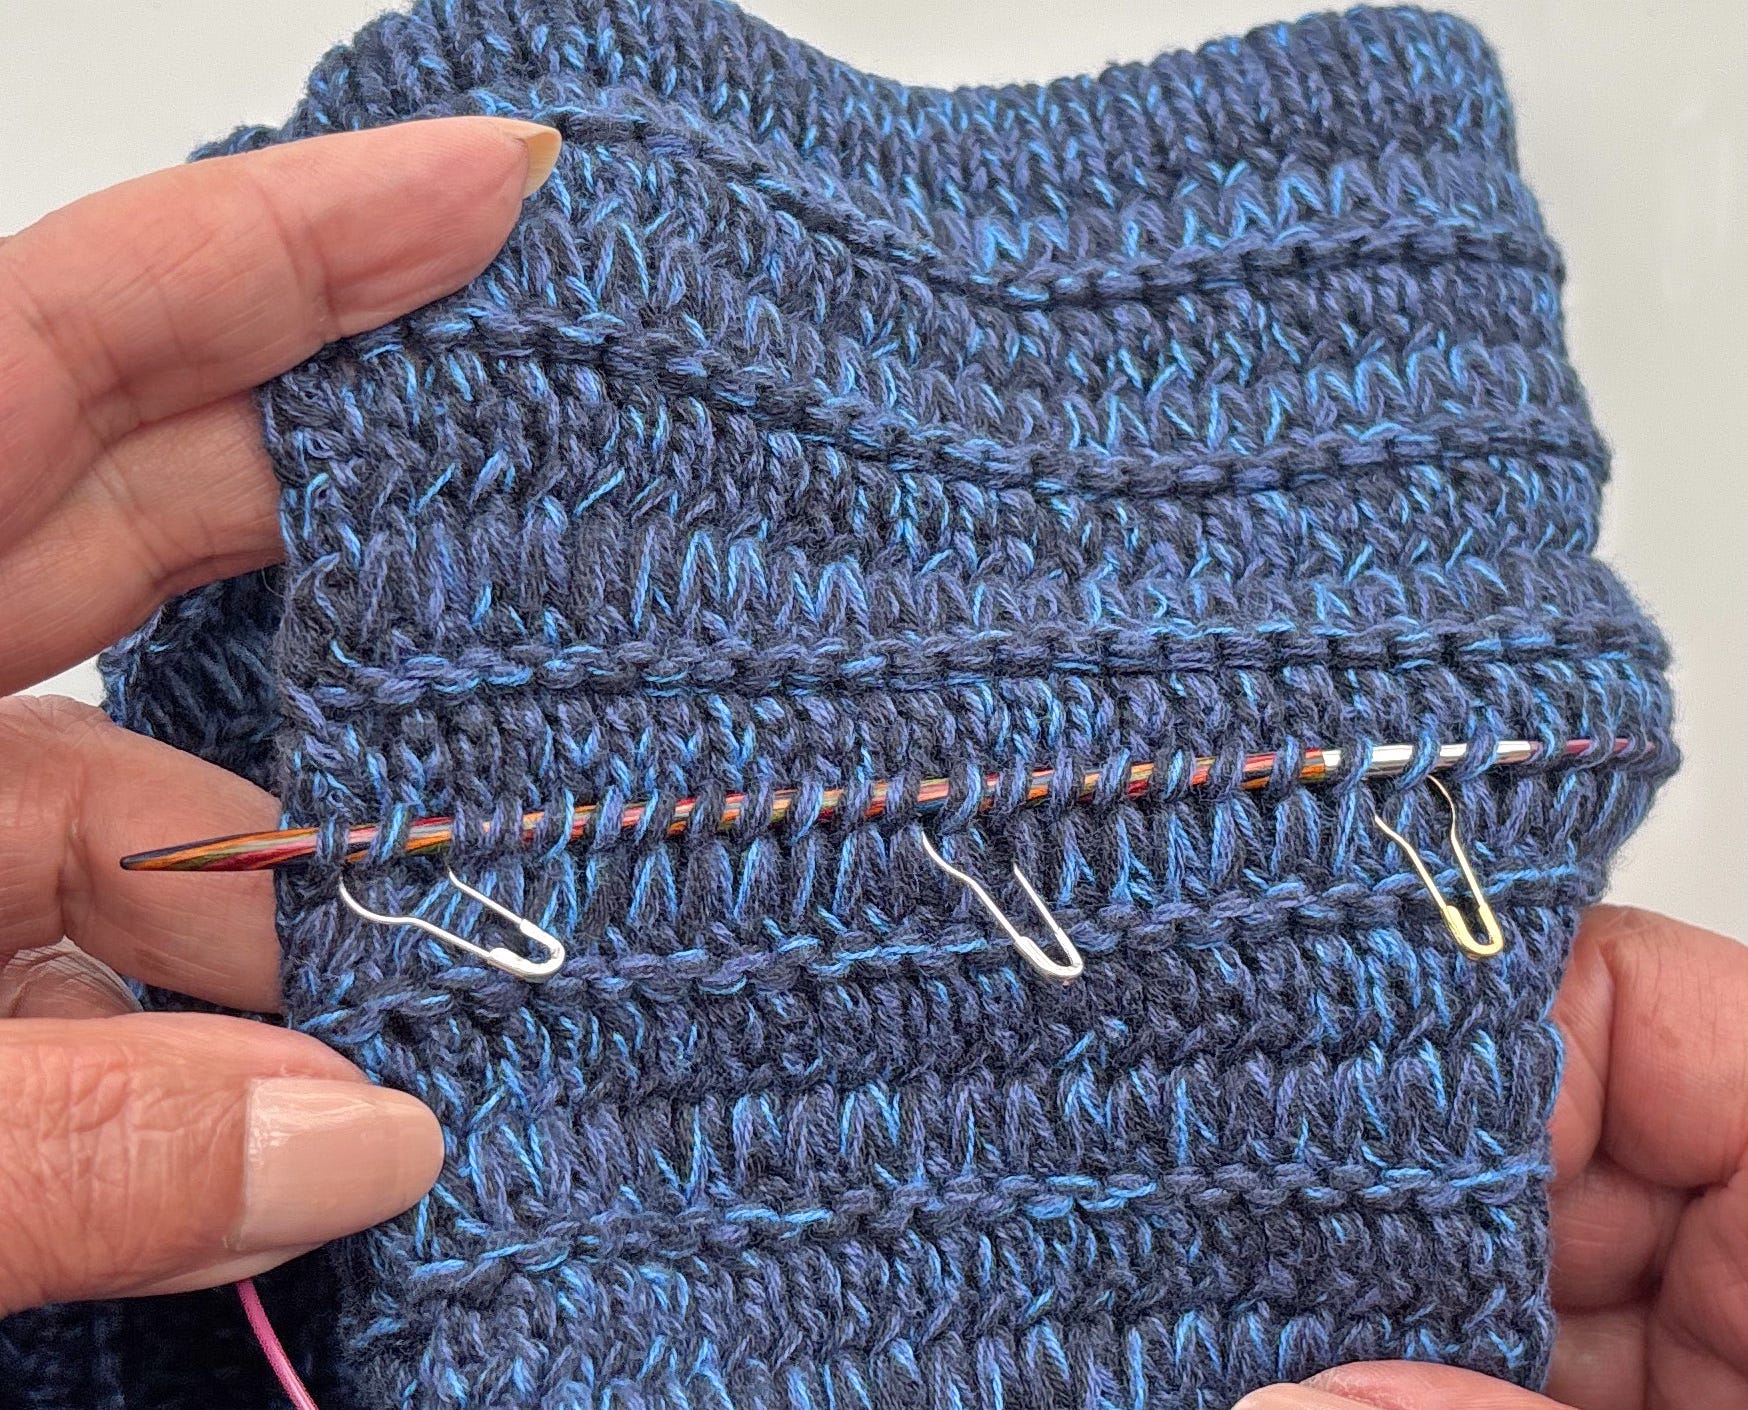
To avoid a mess of dropped stitches, I used a small knitting needle to pick up each stitch along the pinned row. I paid close attention to make sure I didn’t wander from row to row and consistently picked up one leg of each stitch.
Time to Cut
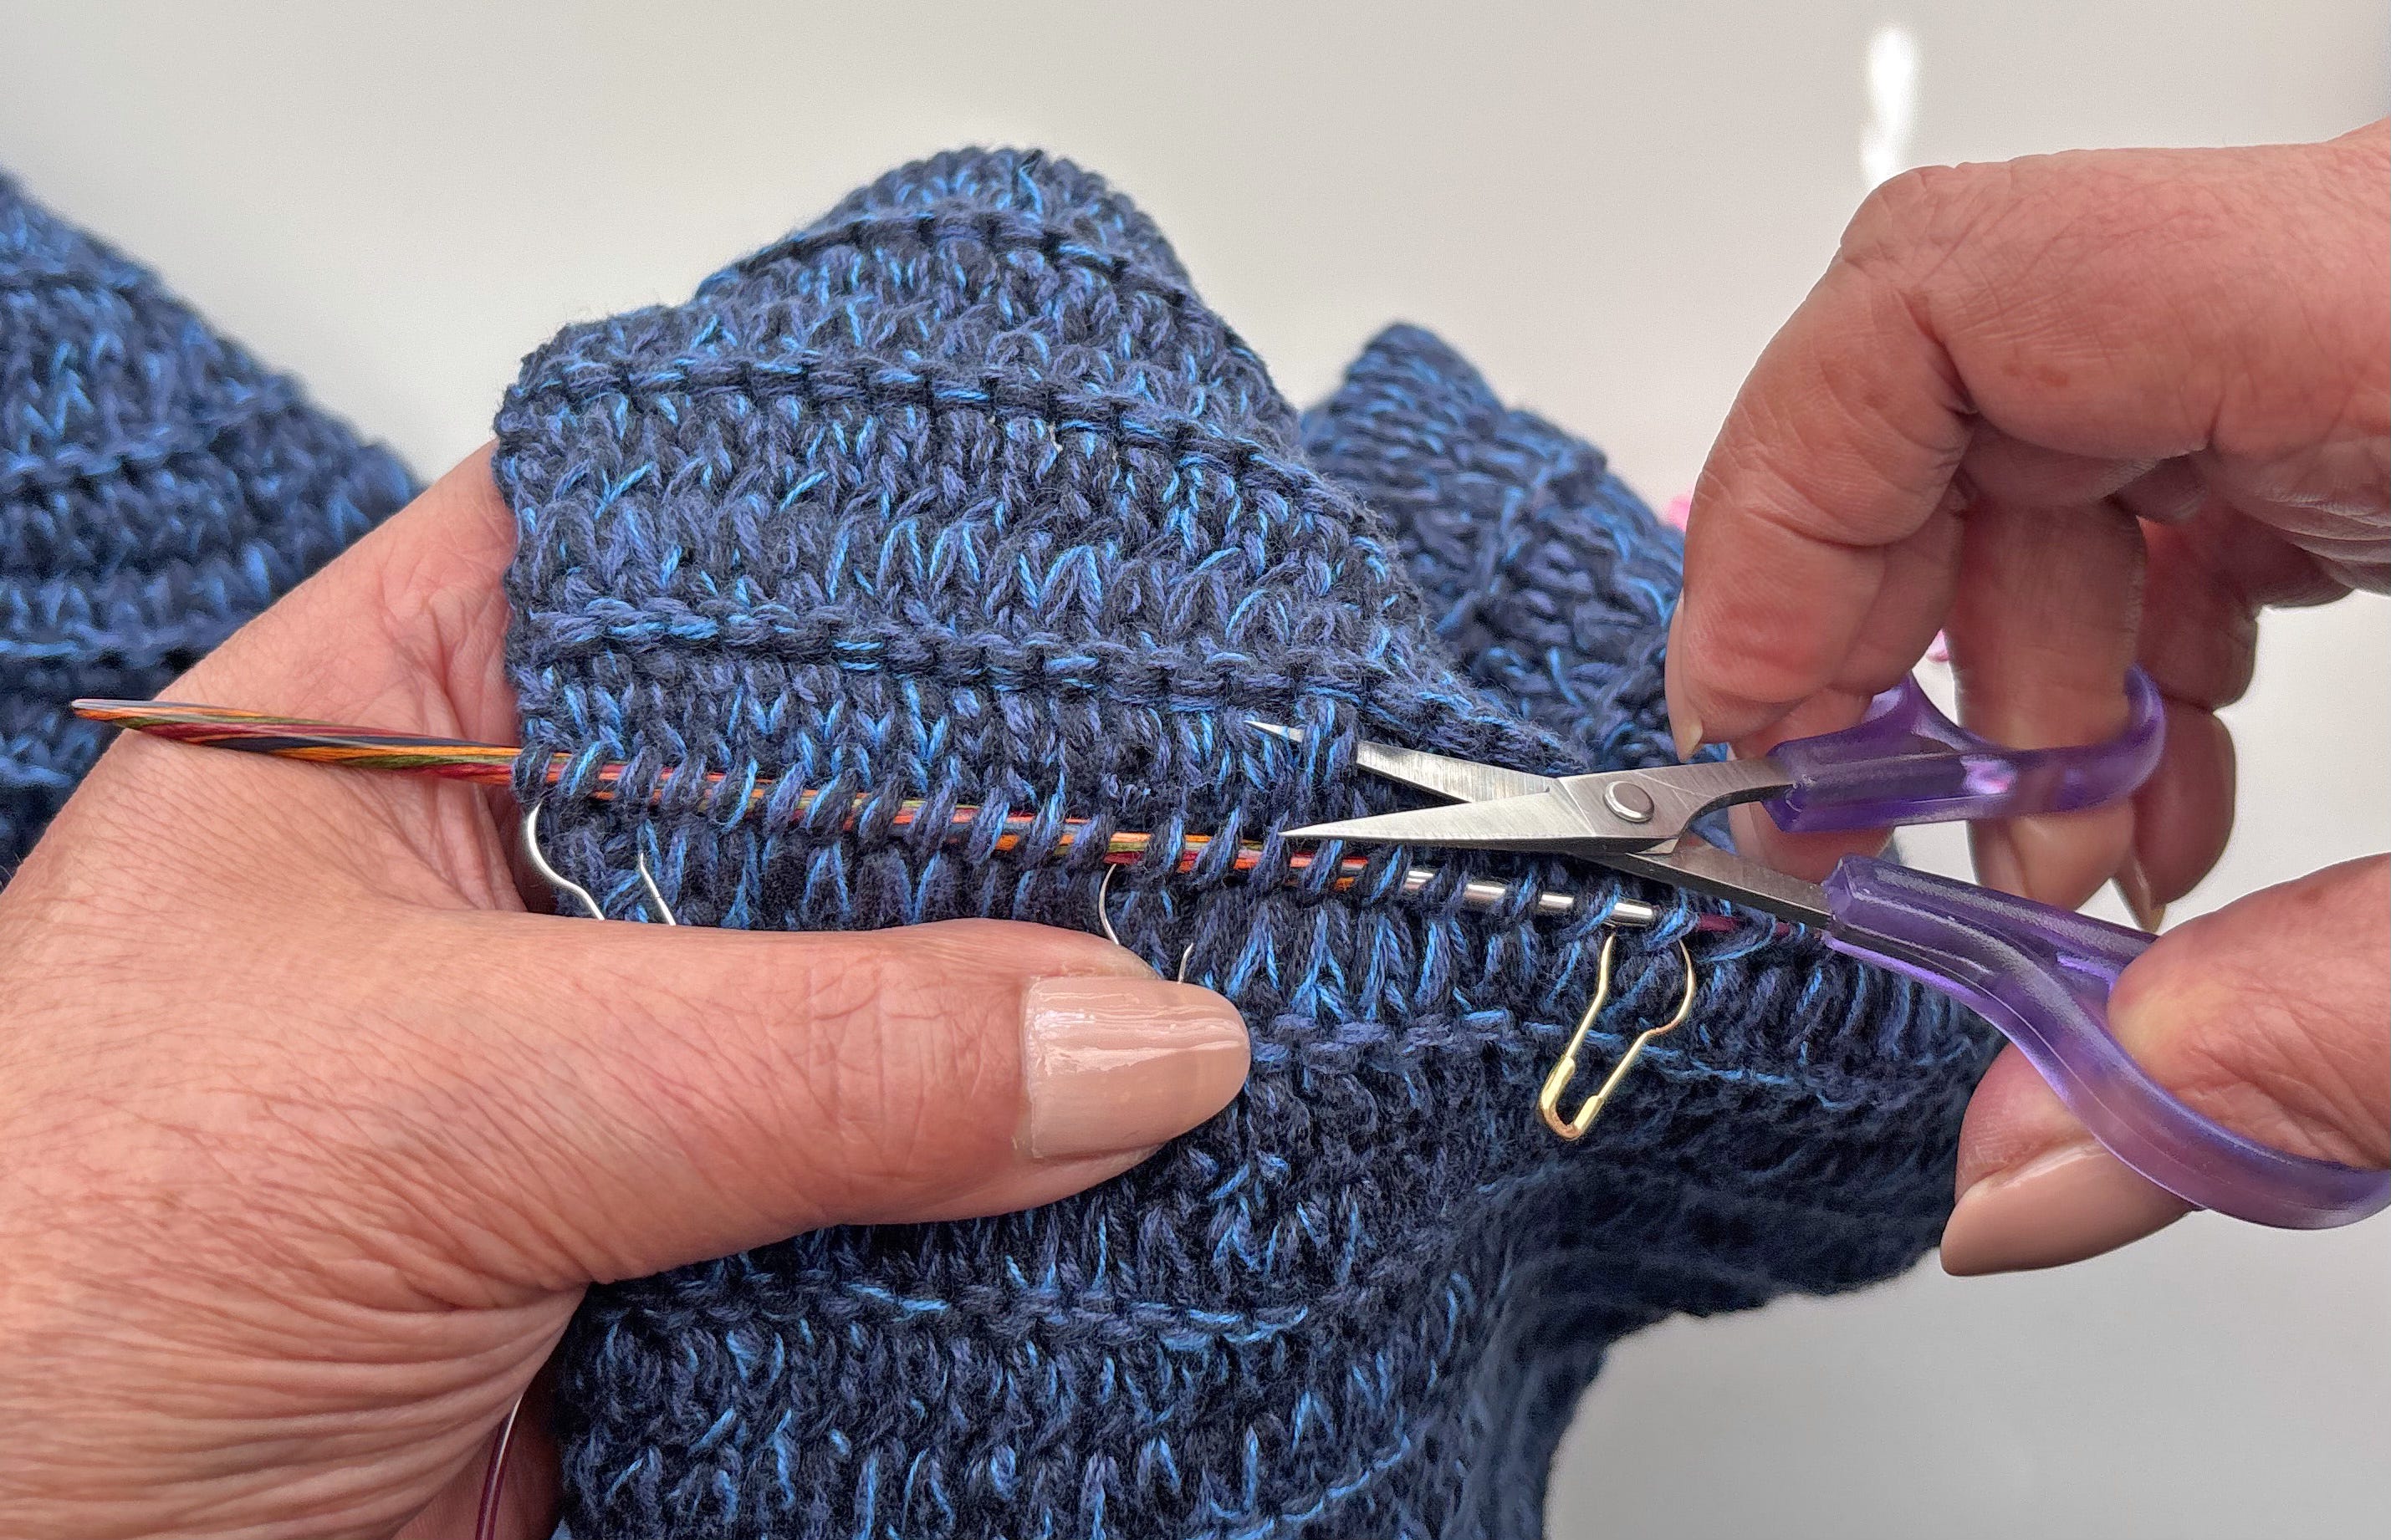
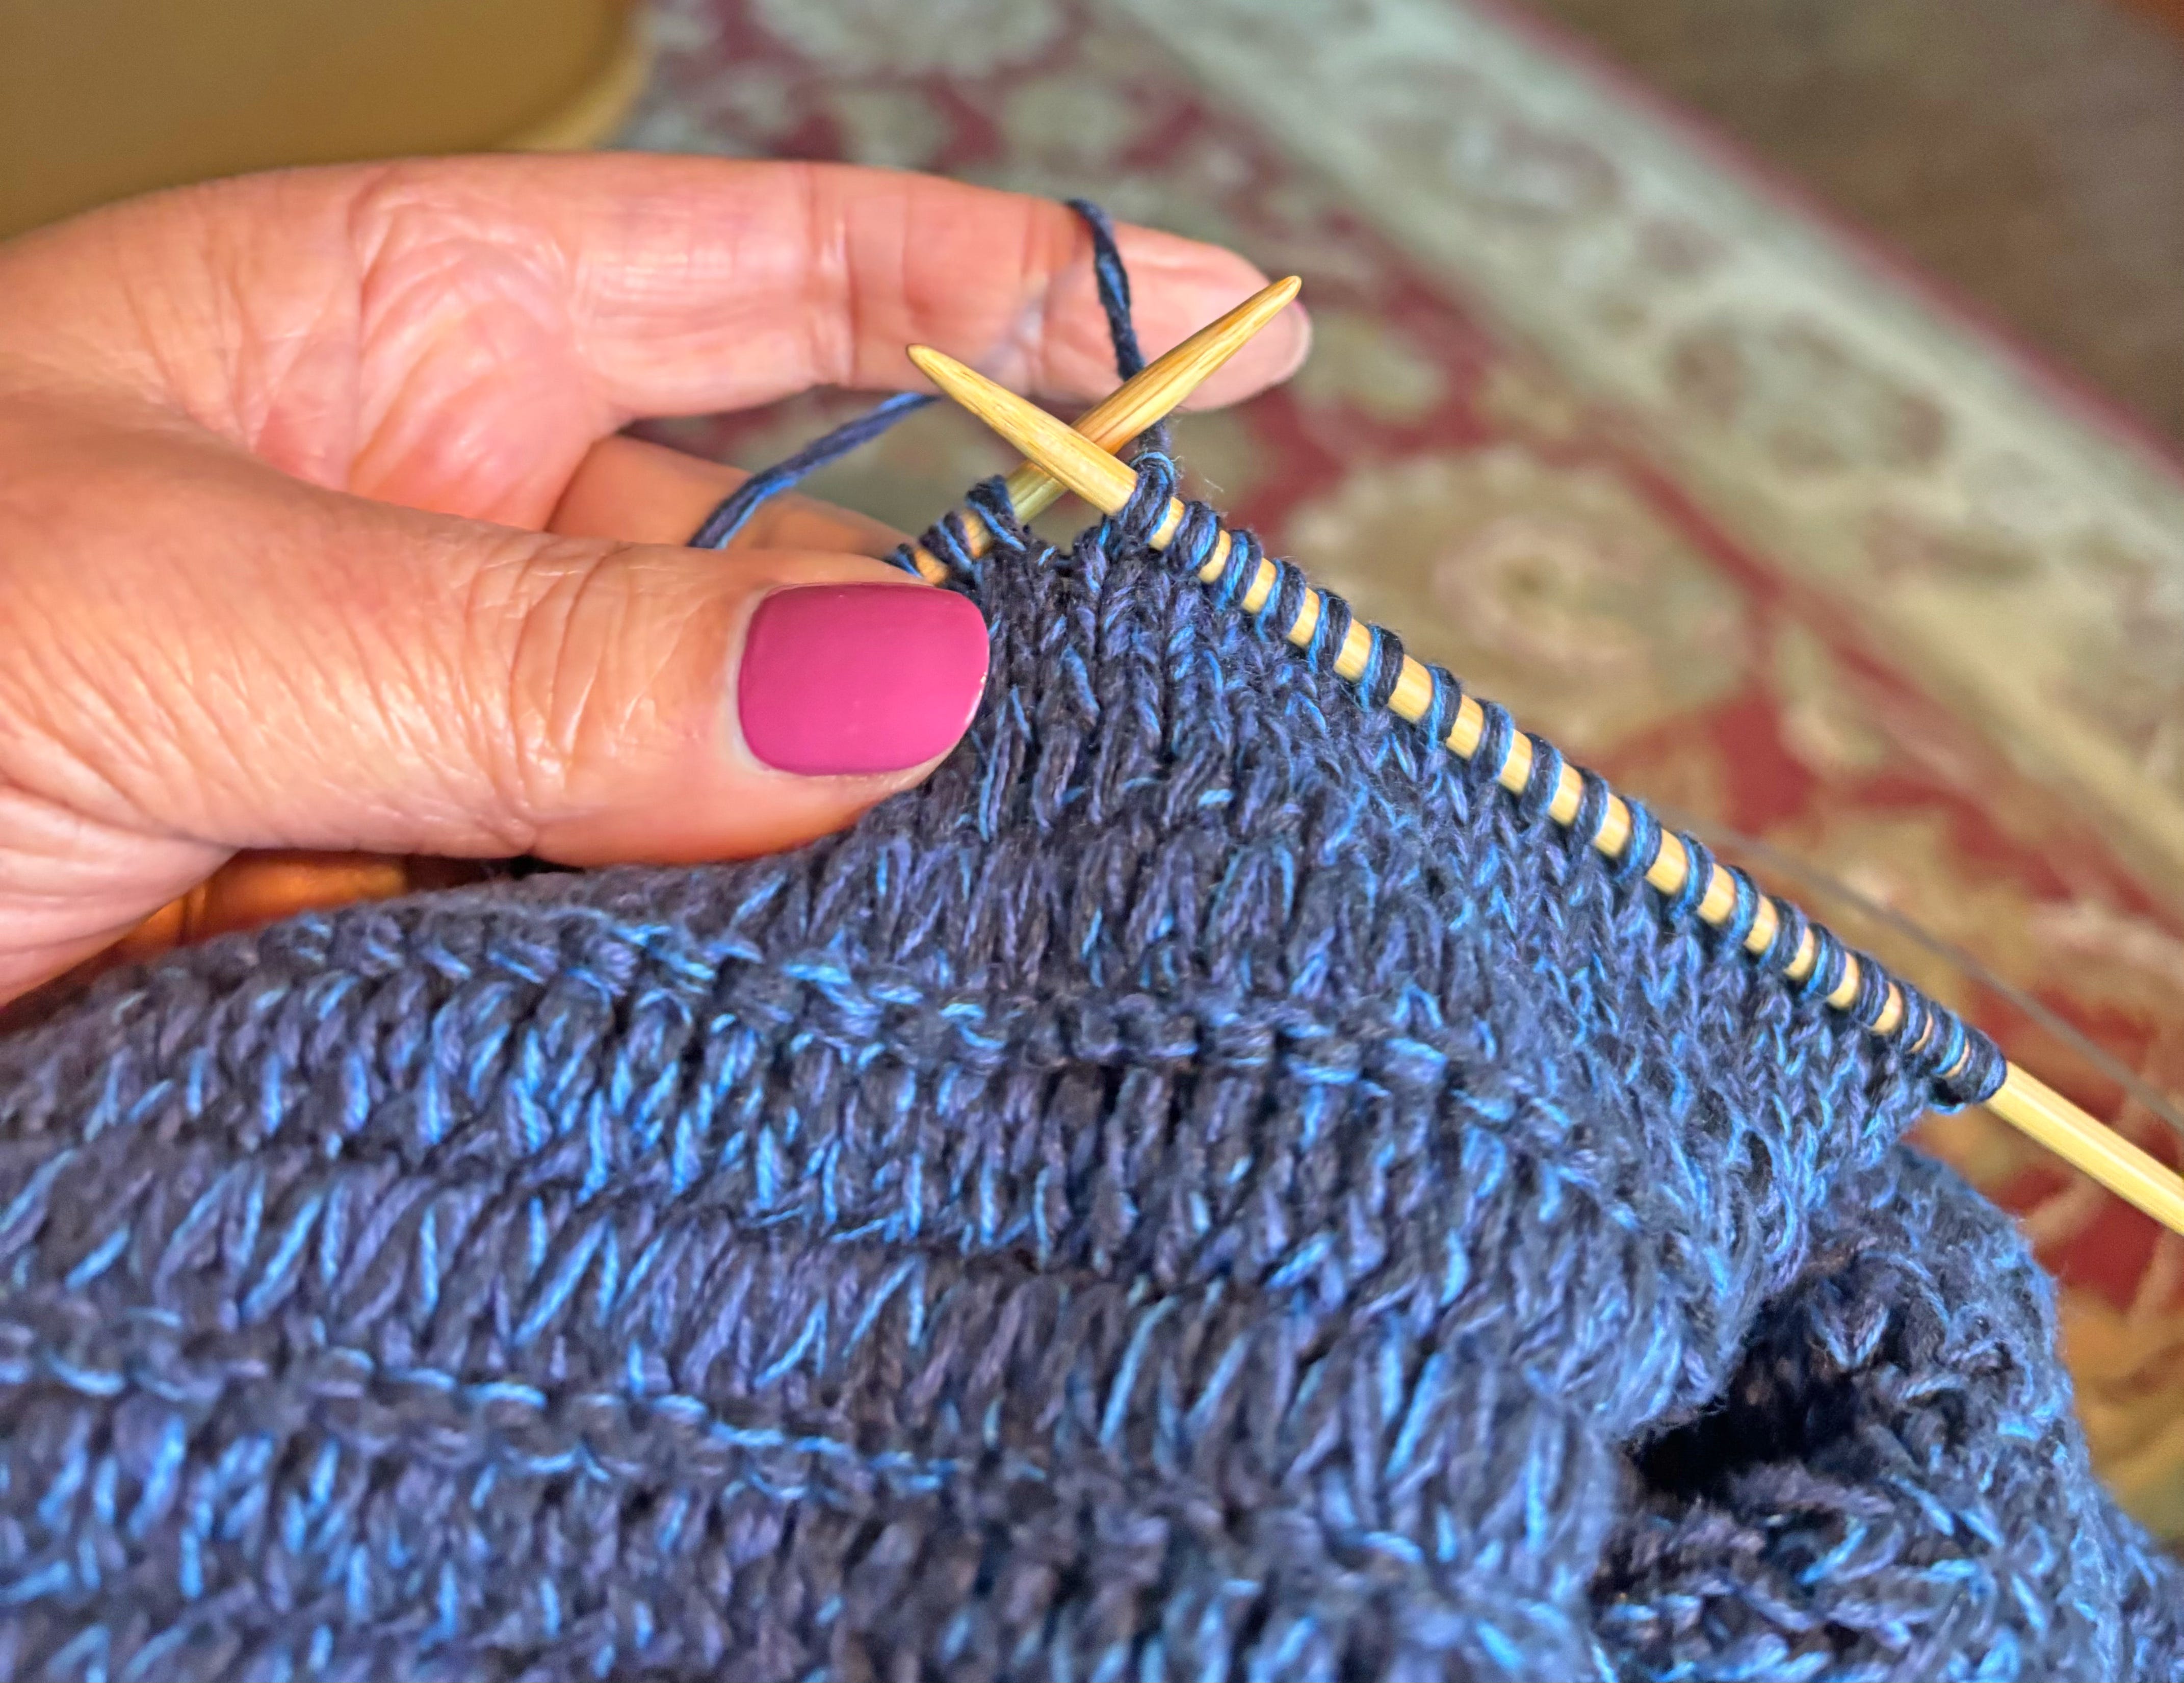
With that row secured, it was time to take a deep breath and cut. Using my small pointy scissors, I snipped one stitch near the middle of the row just below the stitches held by my needle. Then I used my tapestry needle to pick out the stitches on each side of the snipped stitch, carefully working my way towards the edges. I didn’t worry about stitches dropping on the cuff section—I focused on leaving a clean row of stitches on my knitting needle.
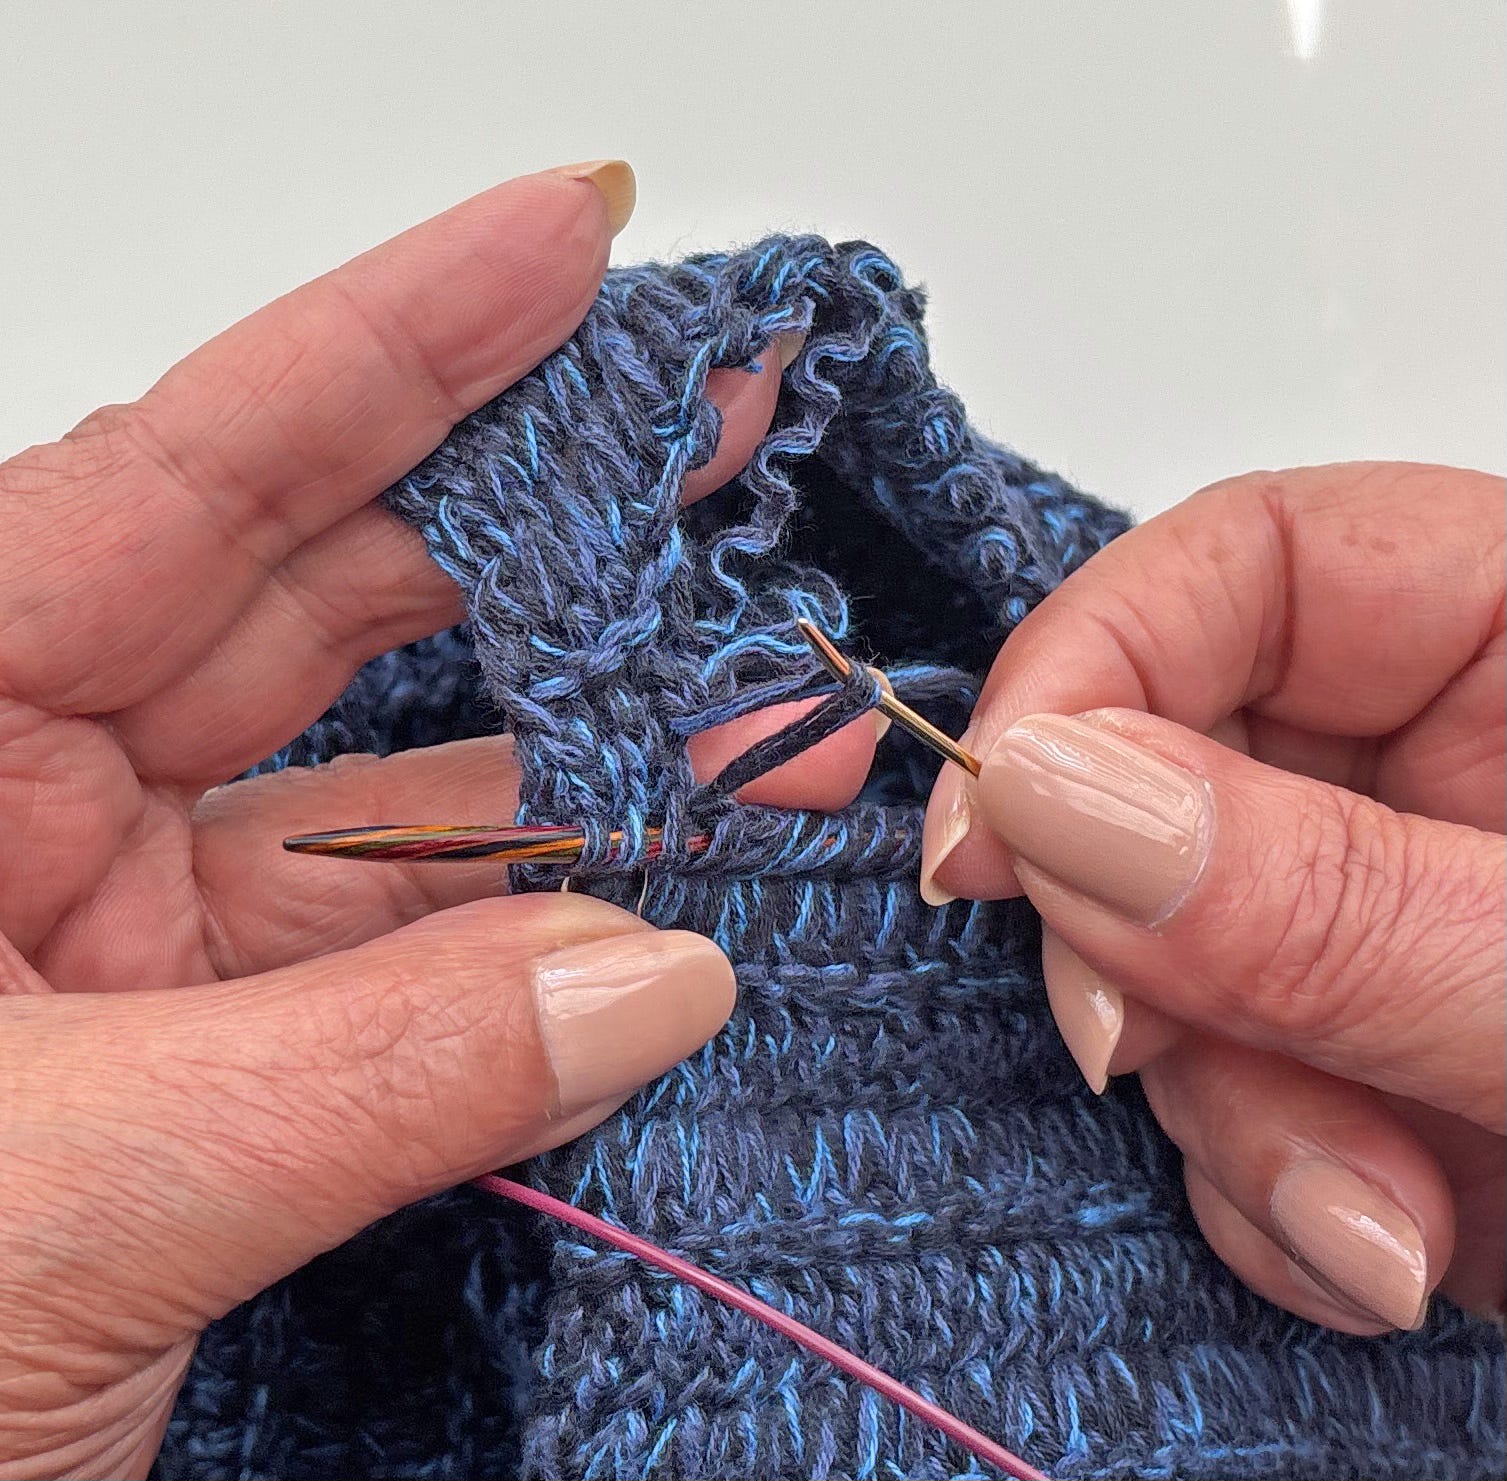
If you look closely, you can see that the stitches on the needle are mounted backwards. When picking them up, I chose to pick up the leg of each stitch that was easiest to see and get my needle under. I didn’t worry about the mount of the stitches, because it’s easy enough to simply knit the first row through the back loop to straighten everything out.
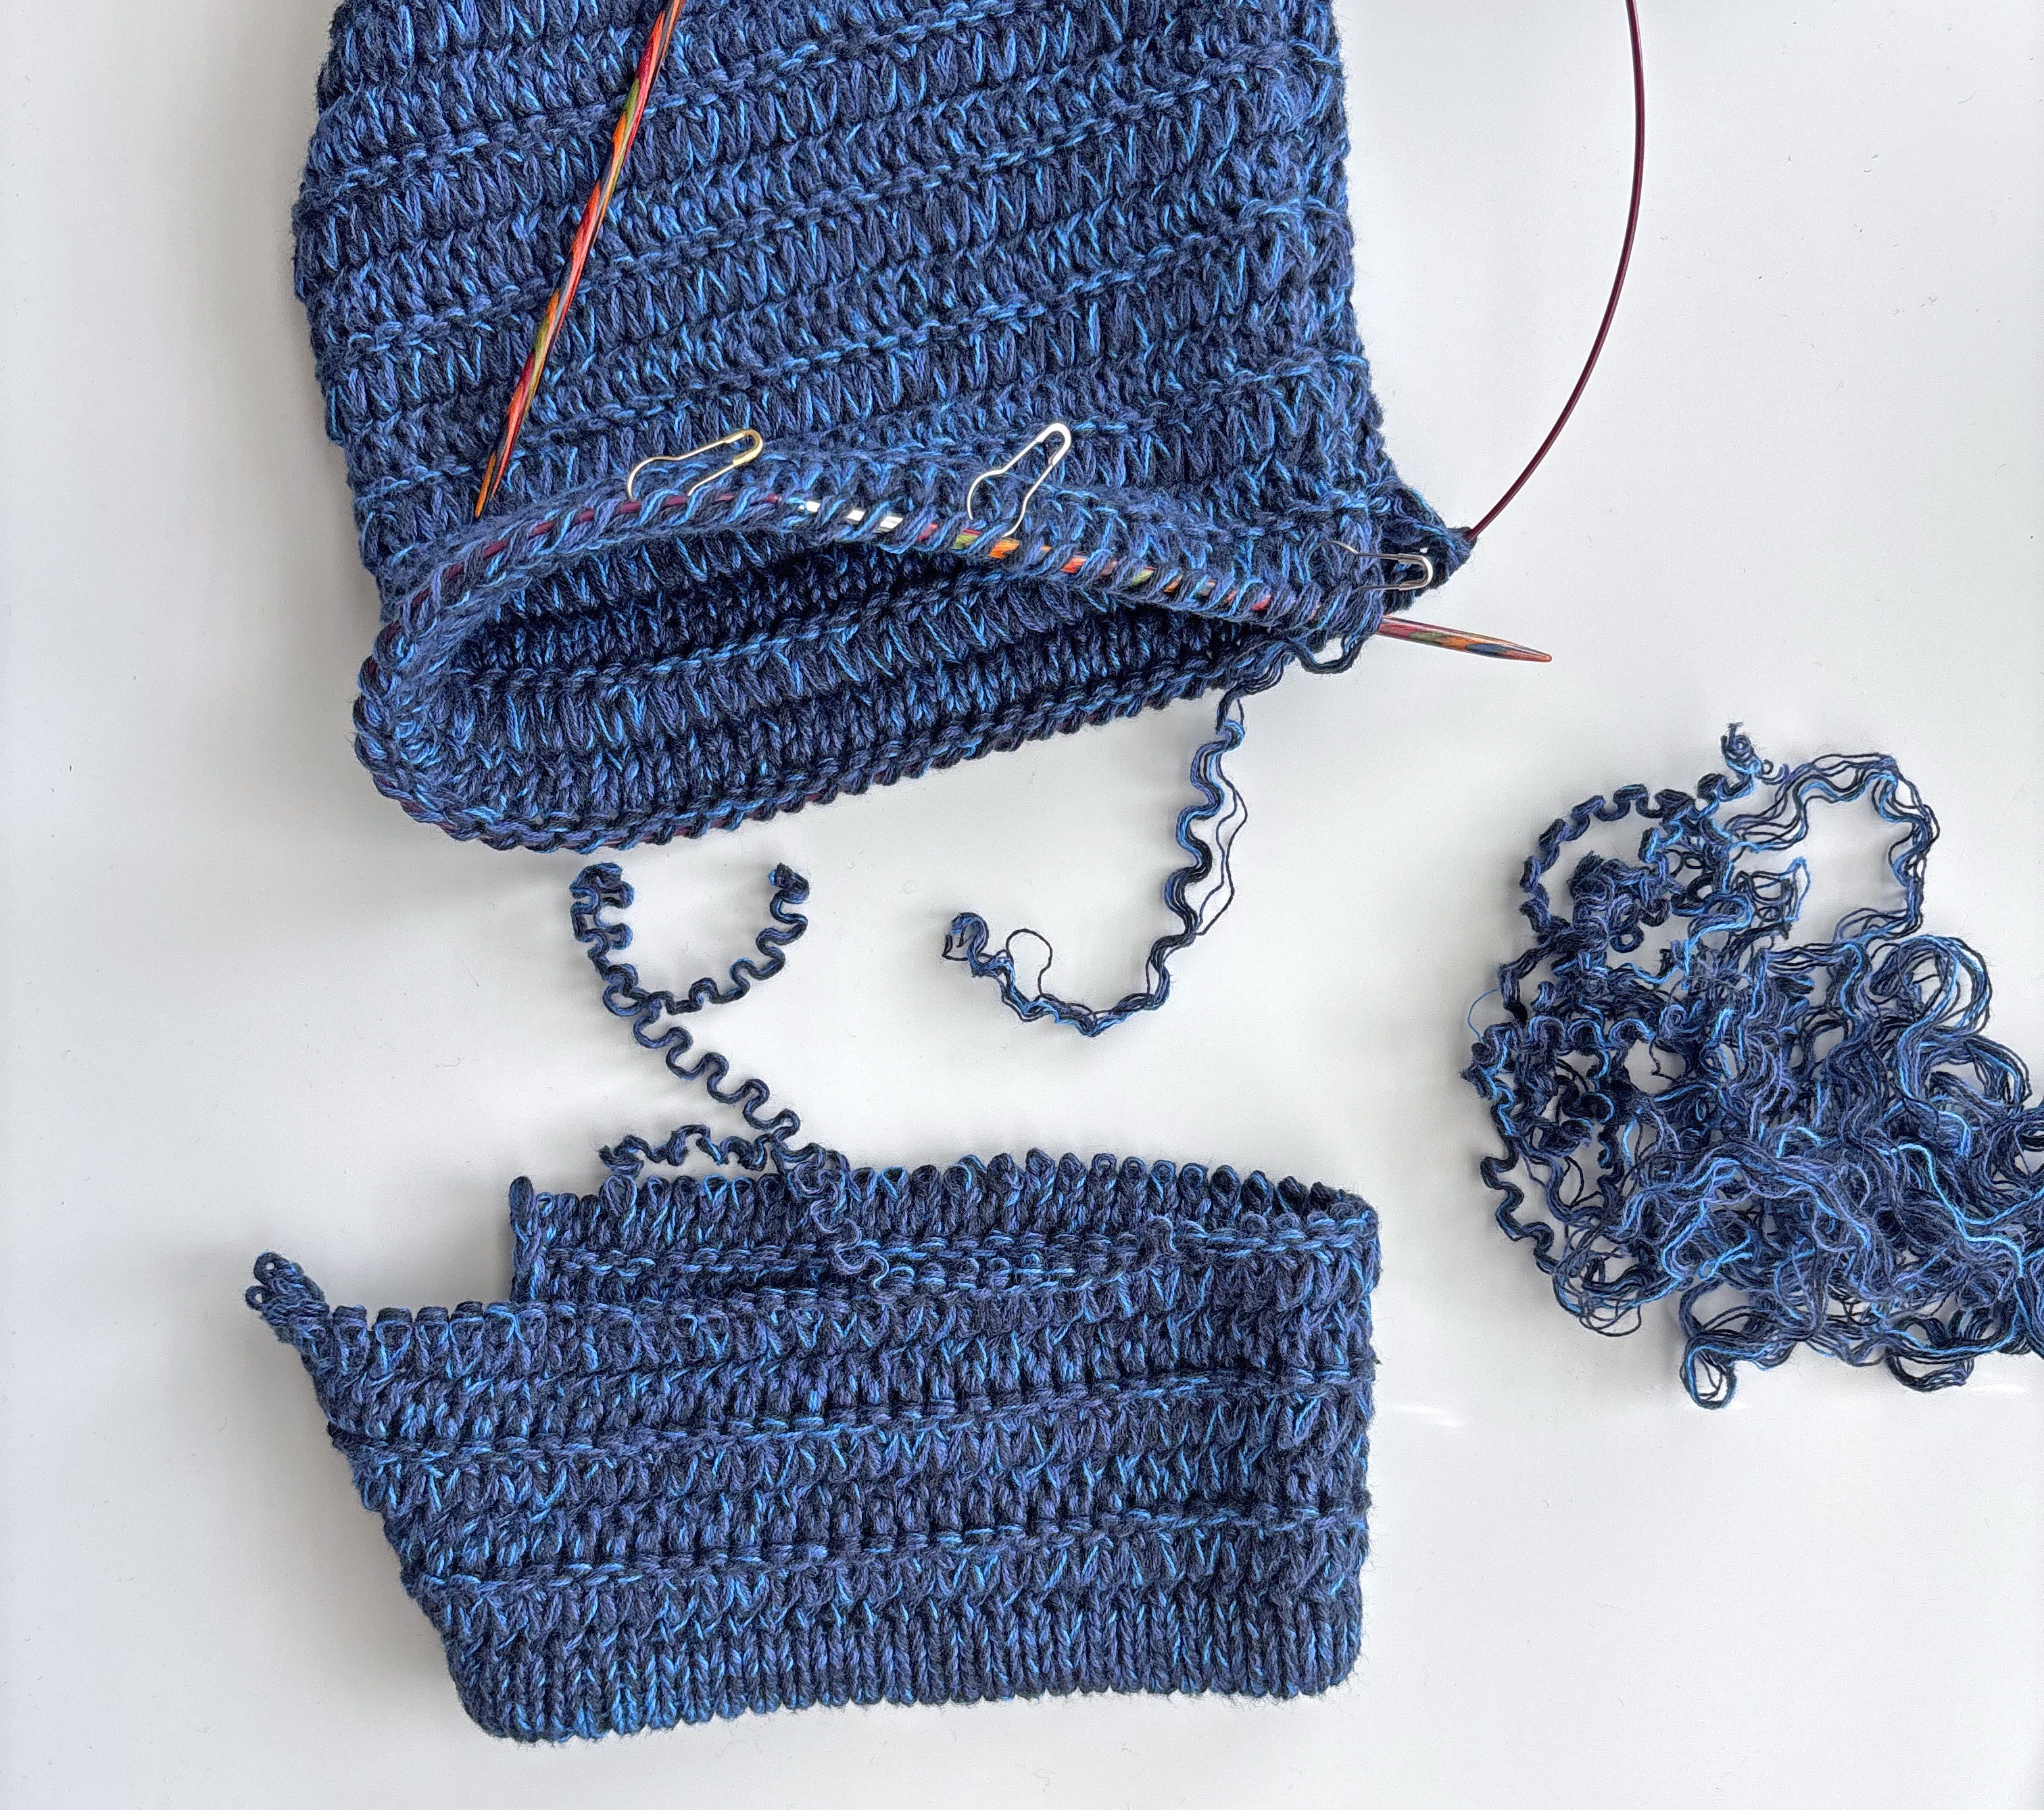
When the cuff was detached, I ripped it back and rolled the yarn into a small ball.
Knitting the New Hem
Looking at the yarn and the original hem, I guessed that a size 5 needle was my best bet for replicating the original stockinette stitch gauge. Taking care to catch all 8 strands of the marl in each stitch, I worked 12 rows of stockinette stitch using the yarn I had recovered from the original cuff section. Those 12 rows gave me 1”, which produced a ½” hem when folded under.
I used the smaller knitting needle to pick up a row of purl bumps at the base of the new hem on the wrong side of the sleeve, then used a 3-needle bind-off to join that row to the stitches on the needle and finish off the hem. Then I restitched the seam.
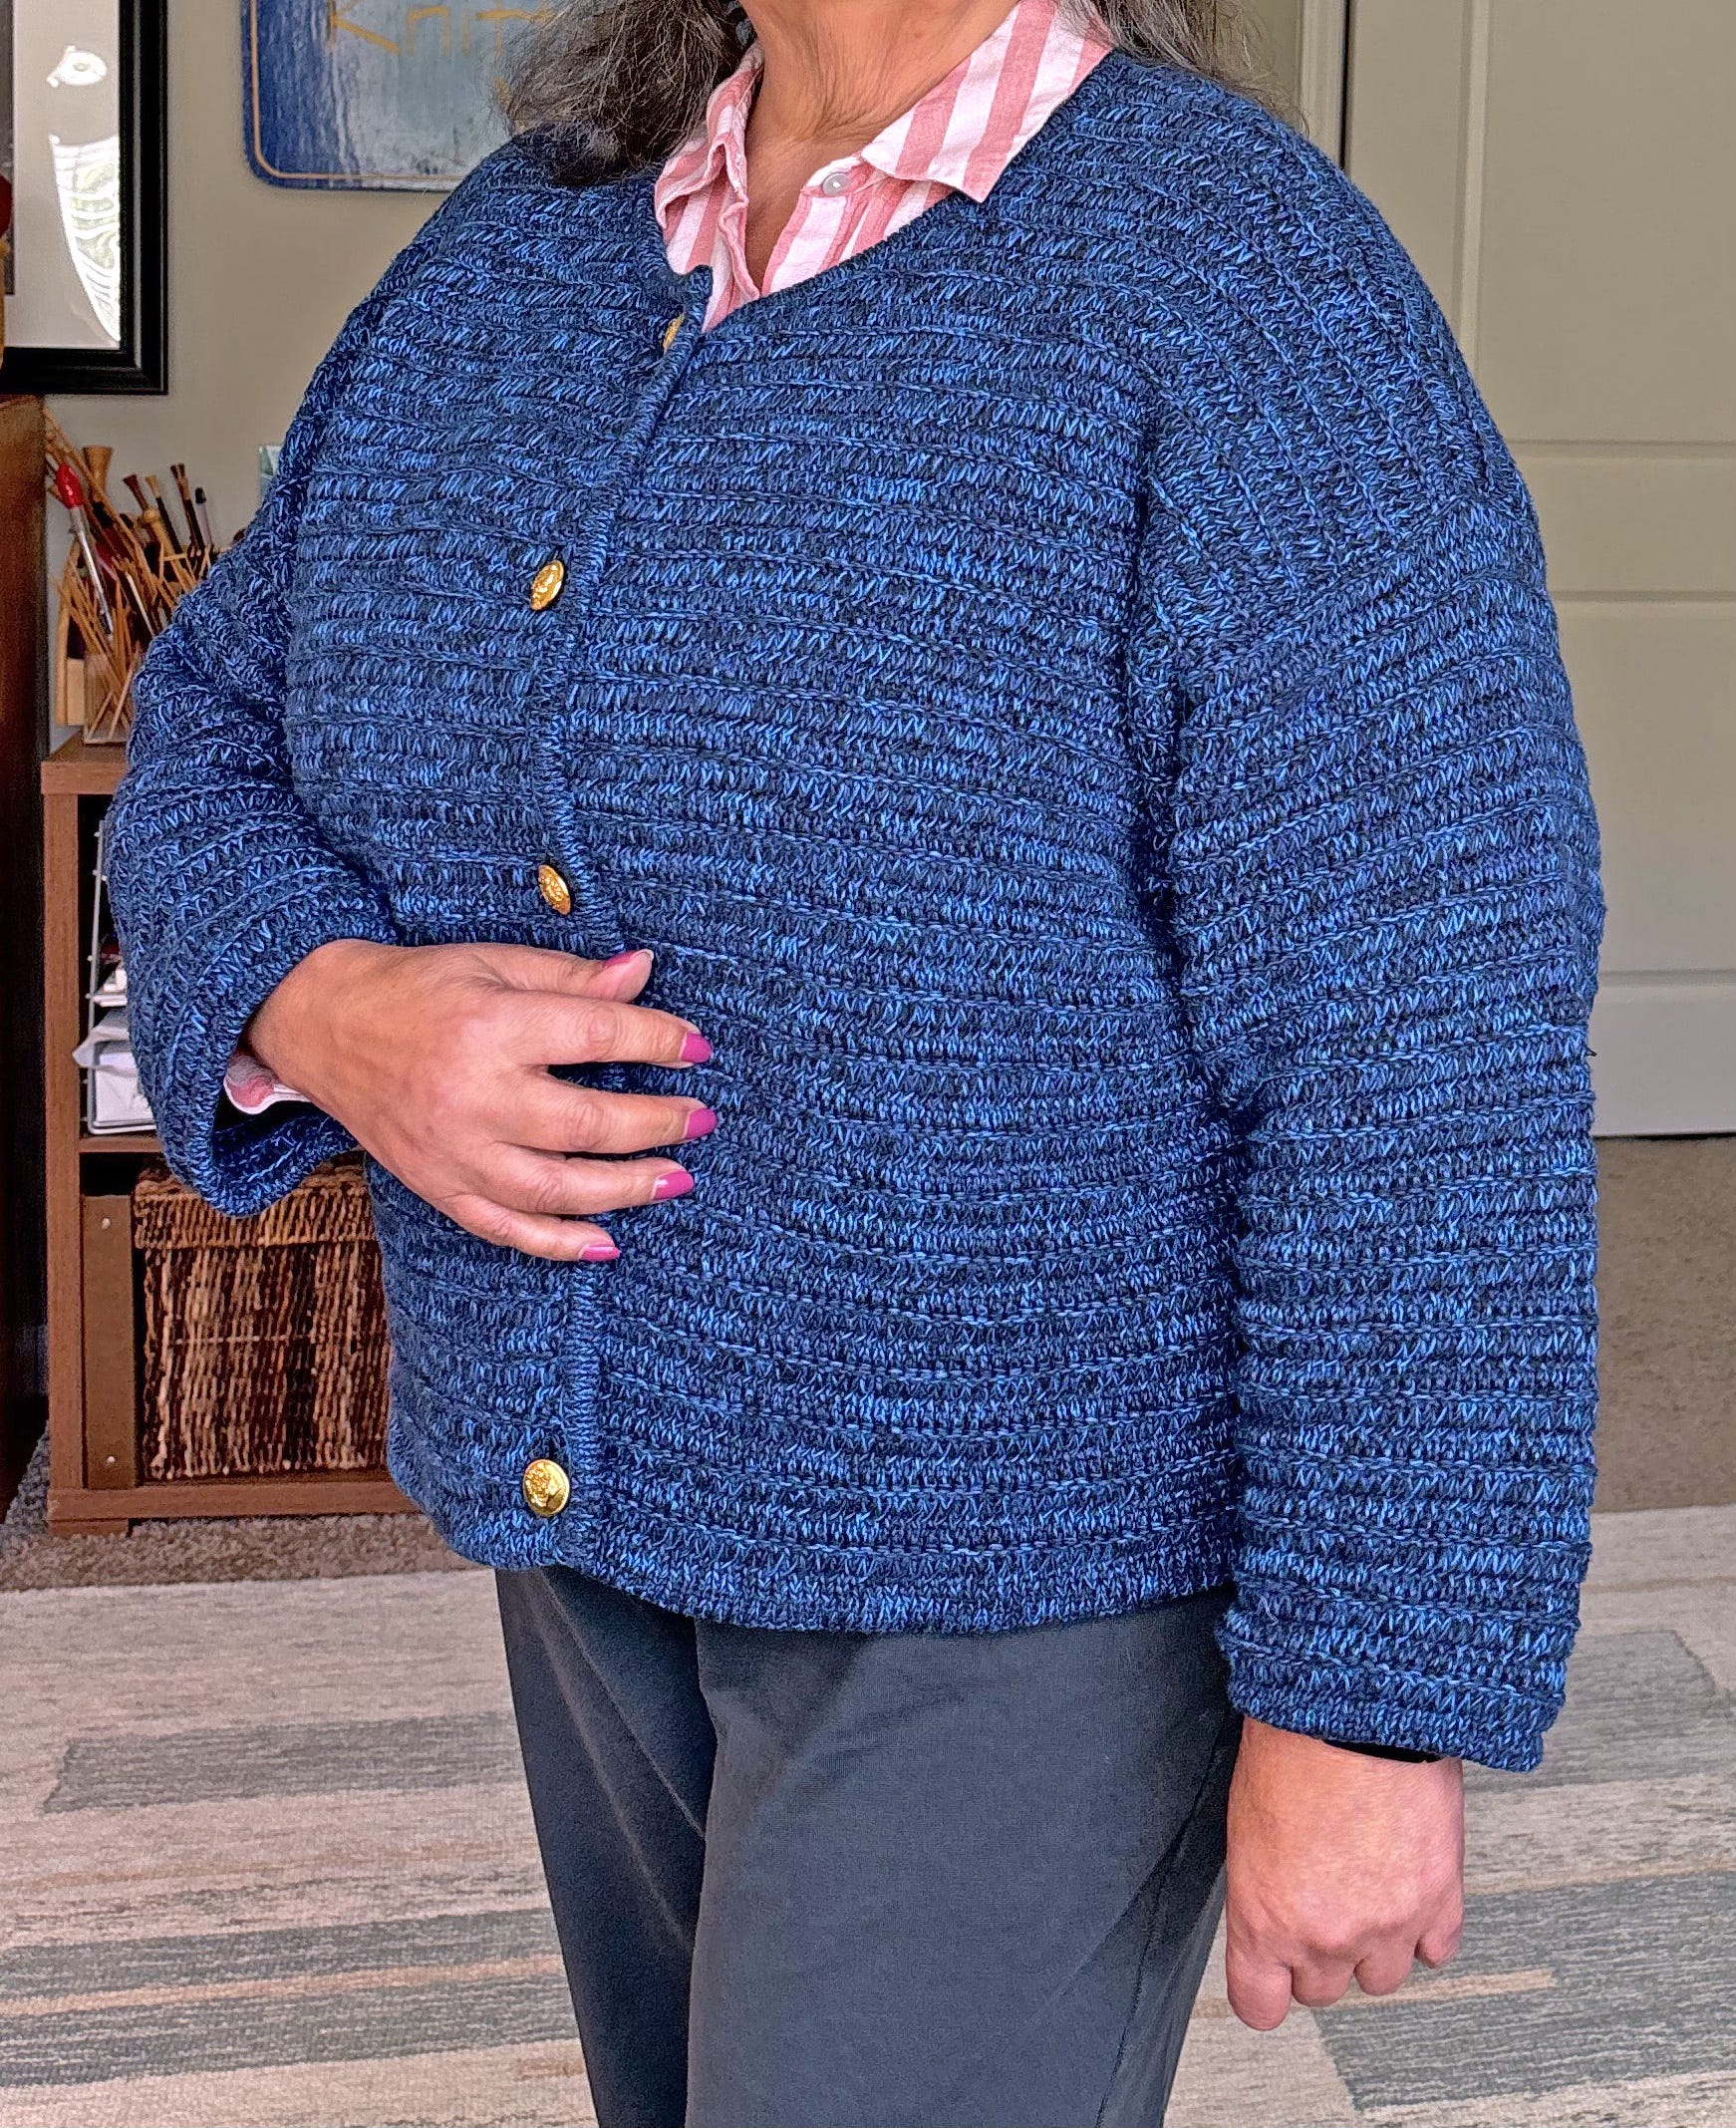
How Did it Turn Out?
The sleeves are now the correct length for me! I’m not entirely sold on the shiny gold buttons—I’m keeping my eye out for some dark blue buttons to replace them.
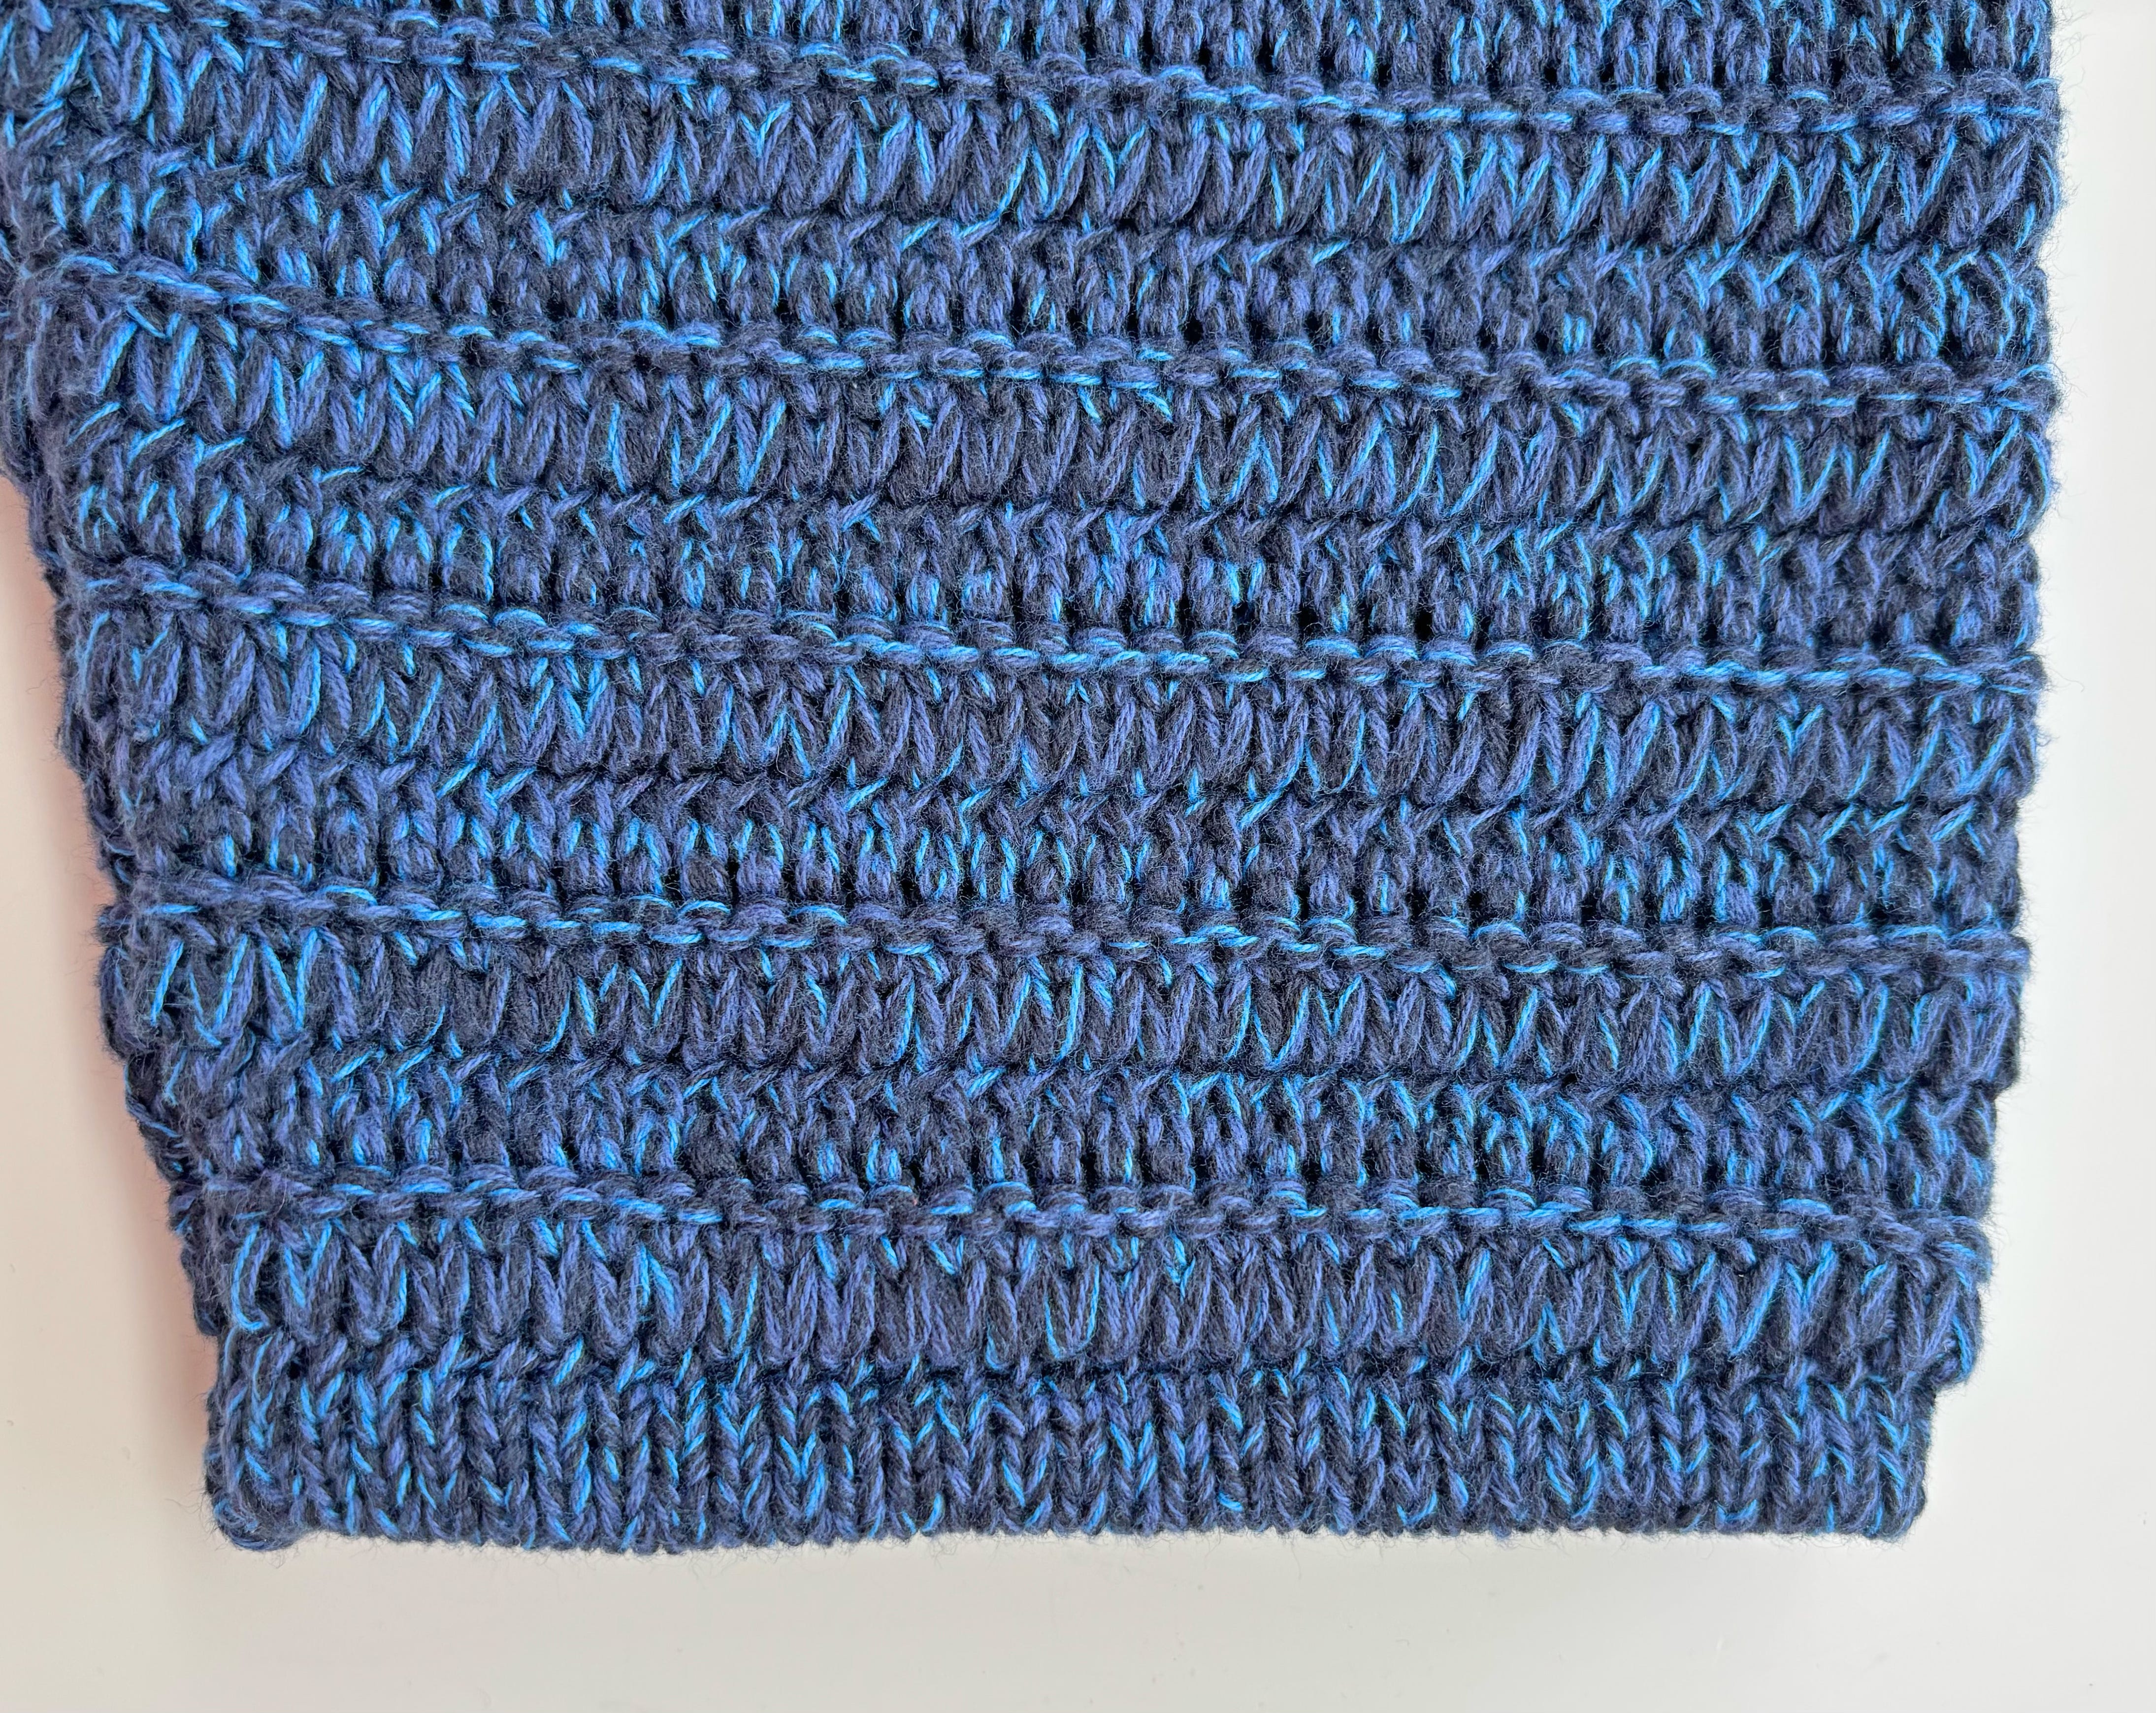
And here’s a close-up of the new hem. You’d never know it wasn’t the original.
I was delighted to see that There is No Place For Us by Brian Goldstone was awarded the Pulitzer Prize for non-fiction. I recommended this book back in July 2025. This intimate look at the plight of the unhoused in America still haunts me.
Thank you, as always, for your support and companionship this week. I’ll have a new book recommendation and some fun links for you next week. In the meantime, continue the conversation: Have you ever altered a store-bought sweater? I’d love to hear about it in the comments!
I learned something today!
Well done. Love the
repair work and your explanations.